Ameba SDCard OTA Firmware Update
Materials
AMB82-mini x 1
MicroSD card
Example
In this example, we will use the Ameba Pro2 board to update OTA firmware from SD card.
Procedure
To begin, open the OTA example in Arduino IDE. File -> Examples -> AmebaOTA -> SDCardOTA
Before verifying and uploading the example, please complete the following steps:
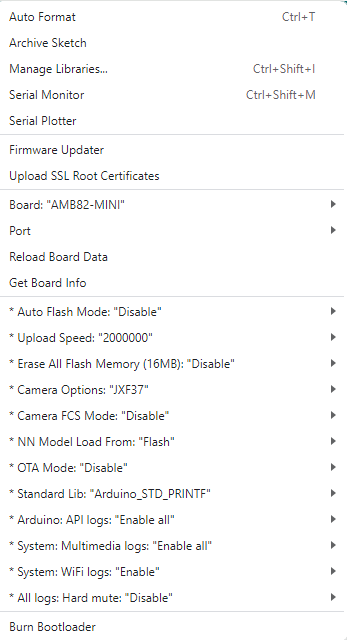
Set NN Model Load From SD Card. Tools -> NN Model Load From -> SD Card

Enable the OTA mode. Tools -> OTA Mode -> Enable
Note
Partition Notice: Arduino IDE will only upload successfully when both Step 1 and Step 2 above are selected. All NN examples that integrate with OTA must load the model from the SD card.
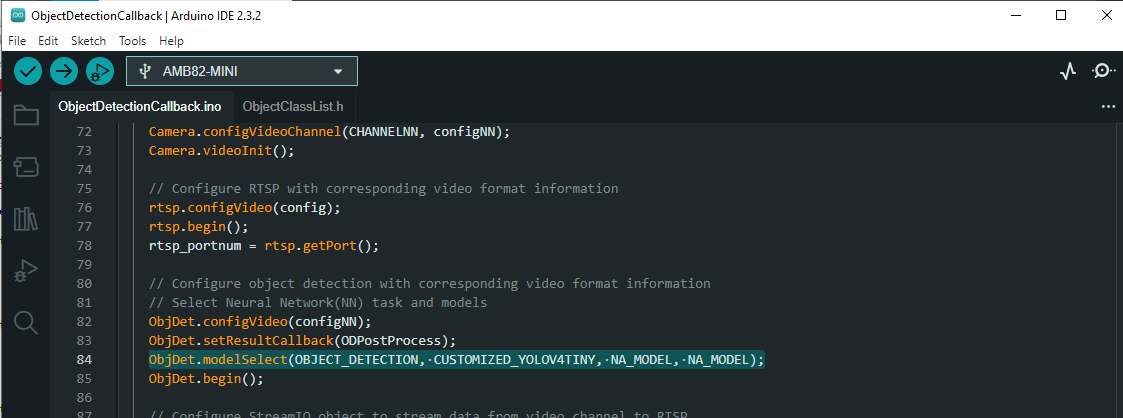
In the highlighted code snippet, fill in the OTA file name.
Now, compile and upload this example.

In this tutorial, we will be uploading a GetFreeAndUseSpace sketch via OTA. Open the GetFreeAndUseSpace example. File -> Examples -> AmebaFileSystem -> GetFreeAndUseSpace
Before verify the example, please complete the following steps:
Set NN Model Load From SD Card. Tools -> NN Model Load From -> SD Card
Enable the OTA mode. Tools -> OTA Mode -> Enable
Now, verify this example. DO NOT upload after compilation.
Note
Priority matters: Kindly take note that AMB82 Mini will only boot with the latest compiled firmware.
Once compilation is done, look for ota.bin file in C:\Users\<username>\AppData\Local\Arduino15\packages\realtek\tools\ameba_pro2_tools\x.x.x
Using a card reader, connect the SD card to a computer and copy the ota.bin file into the SD card. Take note to place the ota.bin file in the root directory
and not in any folder.
Now insert the MicroSD card into the SD card slot of the AMB82 MINI board and press reset button.
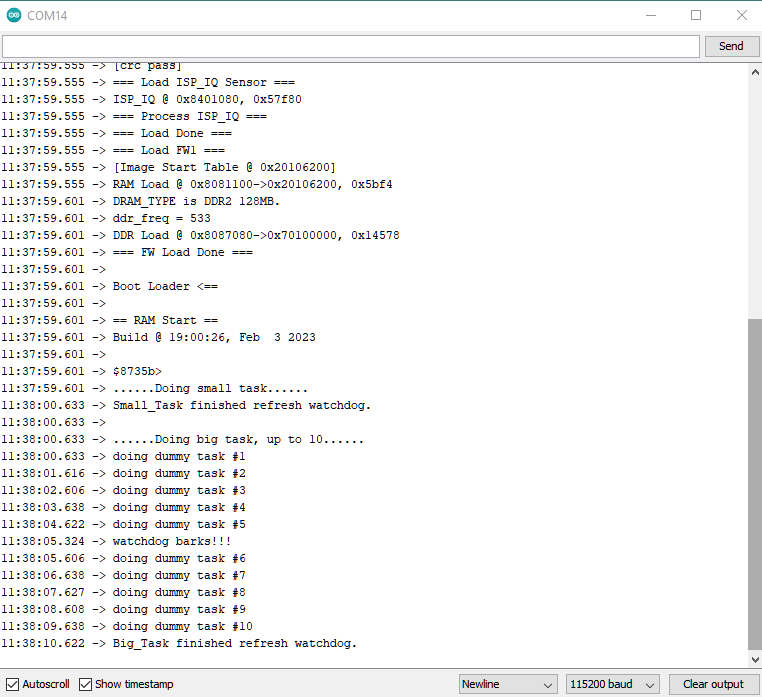
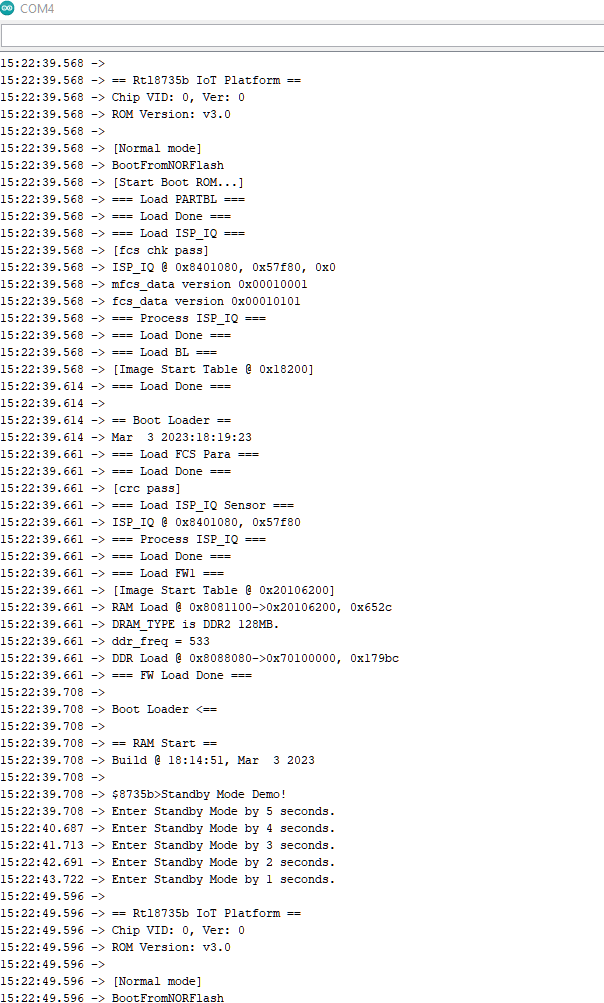
You will see the board automatically read ota.bin from the SD card and perform the update, as shown in the figure below.
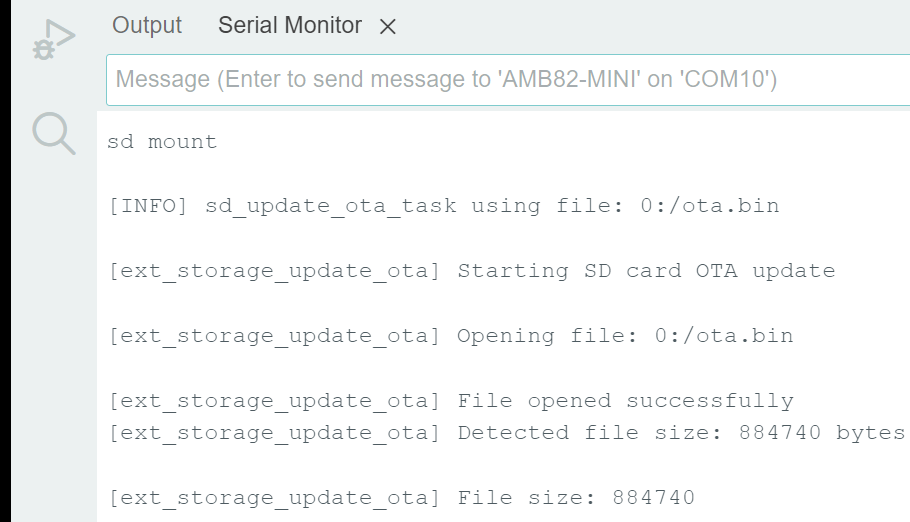
The board will automatically reboot once download progress is completed.
You will see the output generated on serial monitor after reboot.