Display User-generated QR code
Materials
AMB82-mini x 1
Waveshare E-Paper [2.9inch E-Paper HAT (D)/ 2.9inch E-Paper V2/ 2.9inch e-Paper Module (B)/ 4.2inch e-Paper Module/ 7.5-inch E-Ink display HAT] x1
Example
Introduction
In this example, Ameba Pro2 board will be used to connect to a Waveshare e-Paper module (2.9inch/ 4.2inch/ 7.5inch) to display texts. The display uses the flexible substrate as base plate, with an interface and a reference system design. You may refer to the official datasheet to know more information about these modules.
Procedure
AMB82-Mini wiring diagram:
2.9inch HAT (D) e-Paper Module
2.9inch E-Paper V2 e-Paper Module/ 2.9inch e-Paper Module (B)
4.2inch e-Paper Module
7.5-inch e-Paper Module
Do note that Display Config should be set to B and Interface Config should be set to 0.
Eink examples are categorised based on the size and modules of the e-Paper display.
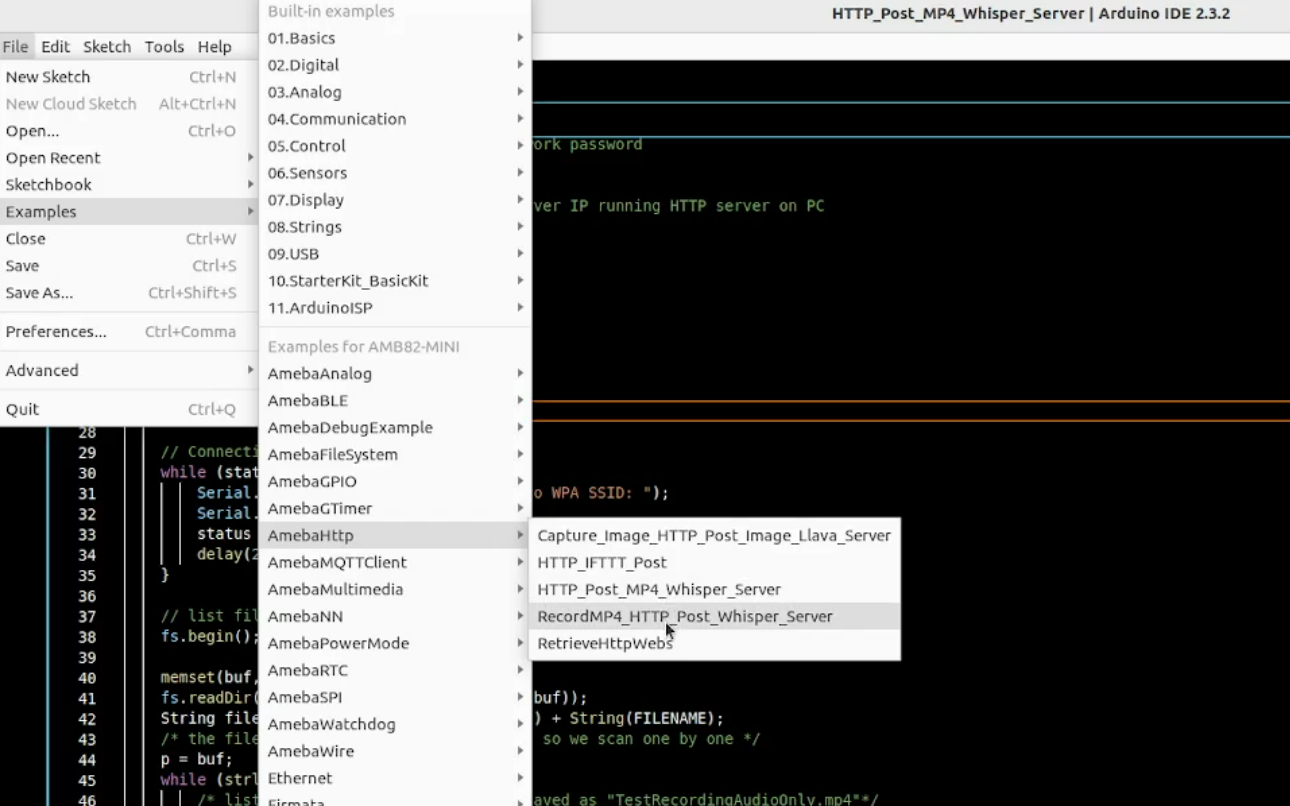
Open one of the “EinkDisplayQR” examples. For example, “File” → “Examples” → “AmebaEink” → “EPD_2in9v2”-> “EinkDisplayQR”:
You may choose any GPIO pins for Busy, Reset and DC pin. You can refer to https://www.amebaiot.com/en/amebapro2-amb82-mini-arduino-getting-started/ for AMB82-Mini’s pinmap.
Modify the URL in the loop() section highlighted in yellow for your QR code, then upload the code to the Ameba board. Upload the code to the board and press the reset button after uploading is done.
A QR code generated based on the input URL will be shown on the E-paper module. In the example, the QR code links to Ameba IoT official website.
Upload the code to the board and press the reset button after uploading is done. Wait for around 1-2 seconds for the e-Paper module to refresh its screen.
