Concurrent Mode
Materials
AMB82-mini x 1
Example
Introduction
WiFi concurrent mode, also known as AP + Station mode, is a feature that allows devices to operate simultaneously as an Access point and a Station. In this example, the Ameba board can connect to an existing wireless network while providing wireless connectivity to other devices.
Procedure
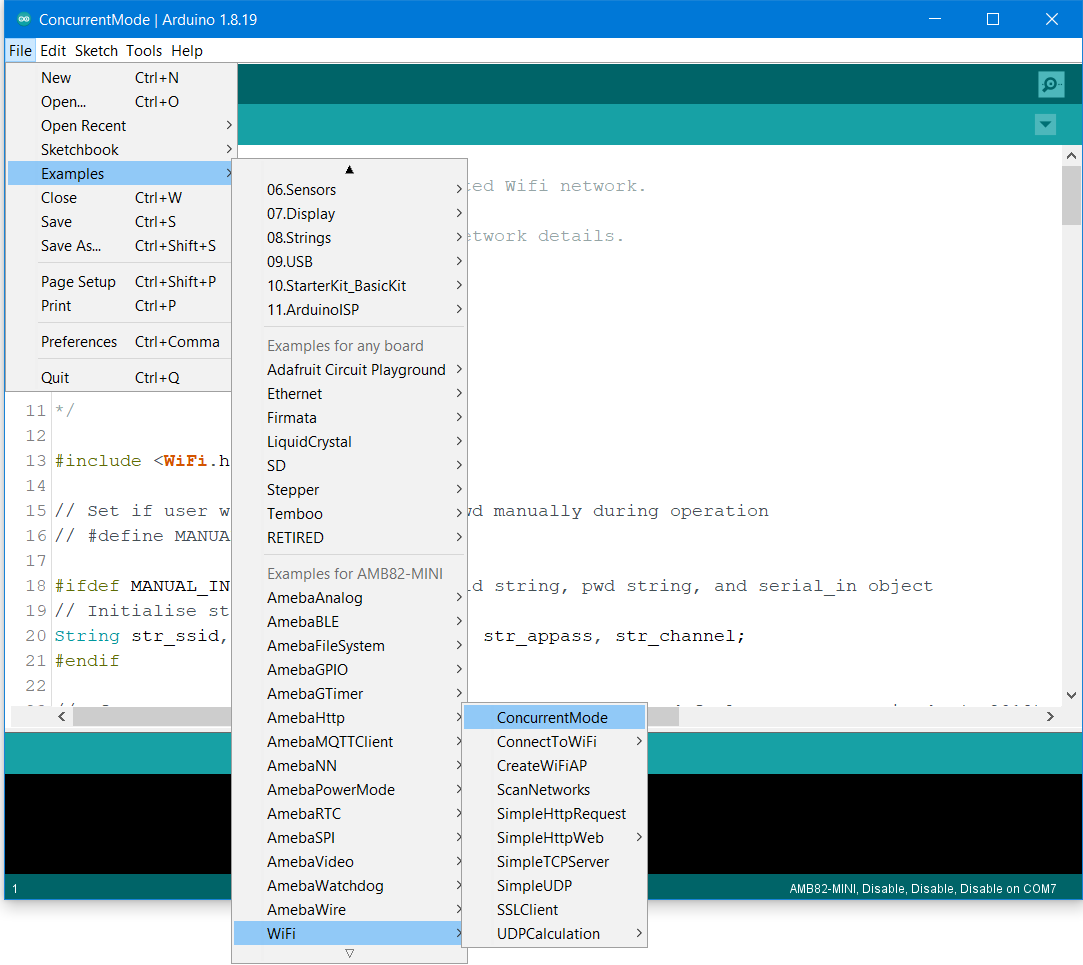
First, open the example in “File” → “Examples” → “WiFi” → “ConcurrentMode”.
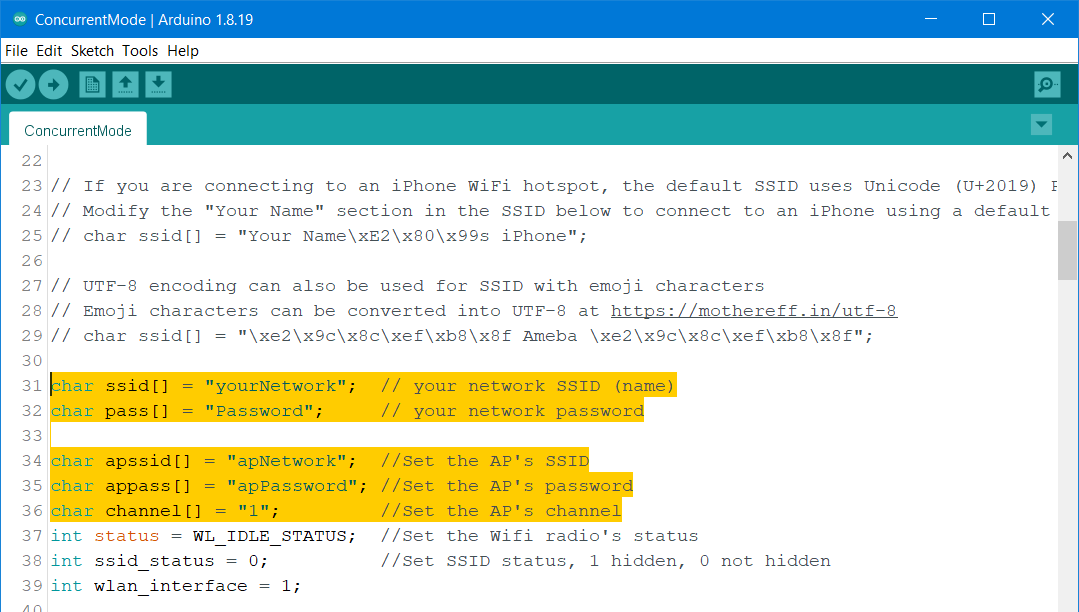
In the sample code, fill in your SSID, PASSWORD, AP SSID, AP PASSWORD and CHANNEL.
If you prefer to enter all the information in the Serial monitor while
the program is running, uncomment #define MANUAL_INPUT
Note
If you enabled MANUAL_INPUT, after uploading the sample code and pressing the reset button on Ameba, input your SSID, Password, AP SSID, AP Password and channel. The AP mode should start first.
For Ameba boards, there is a limitation that the AP mode must be the same channel as the WiFi station mode. To see the channel, you may download NetSpot software : https://www.netspotapp.com/download-win.html
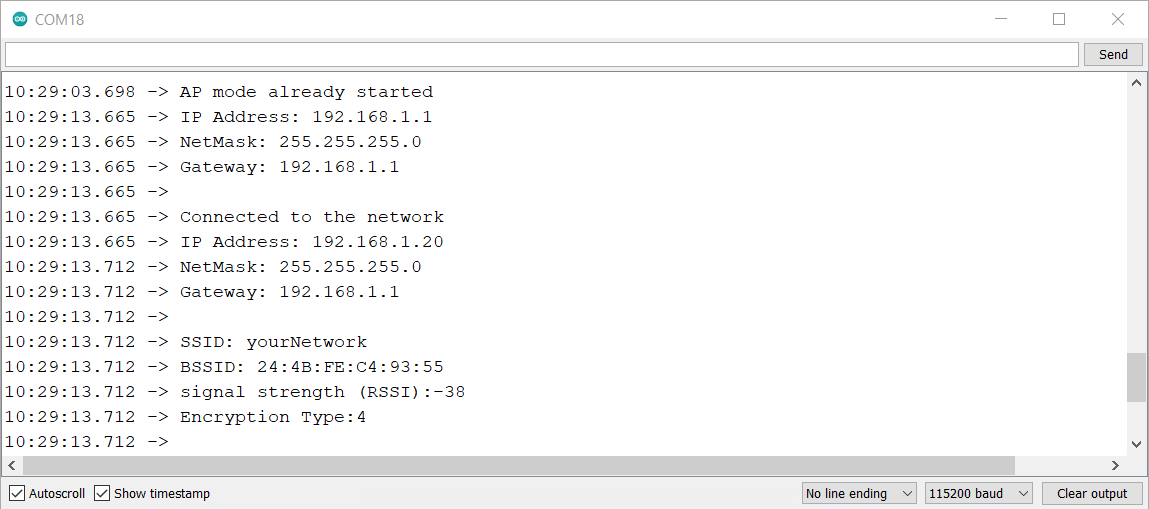
Next upload the sample code and press the reset button on Ameba. You will be able to see AP mode start first.
The code by default turn on the AP mode in security mode. If you want to
turn on the AP mode in open mode, please modify the code to status =
WiFi.apbegin(ssid, channel);
Next, you will see the information of the AP mode shown, and after that you will see a message “Connected to the network”, and the information of this WiFi connection is printed in the serial monitor every 10 seconds.
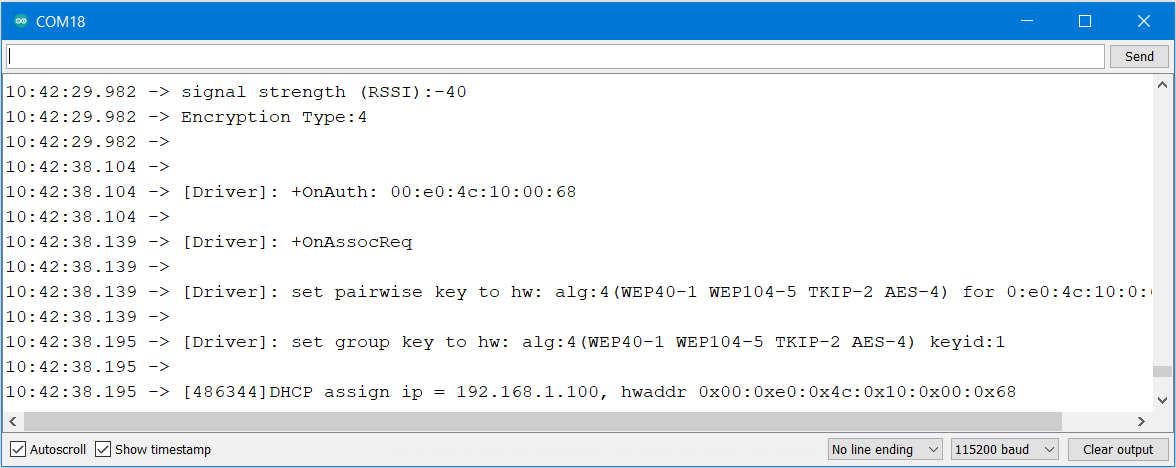
In the figure below, this message will appear in the serial monitor when a device is connected to the AP:
Comparison with Arduino
#include to
use SPI to communicate with WiFi module.#include is not needed.


