Birdfeeder
Materials
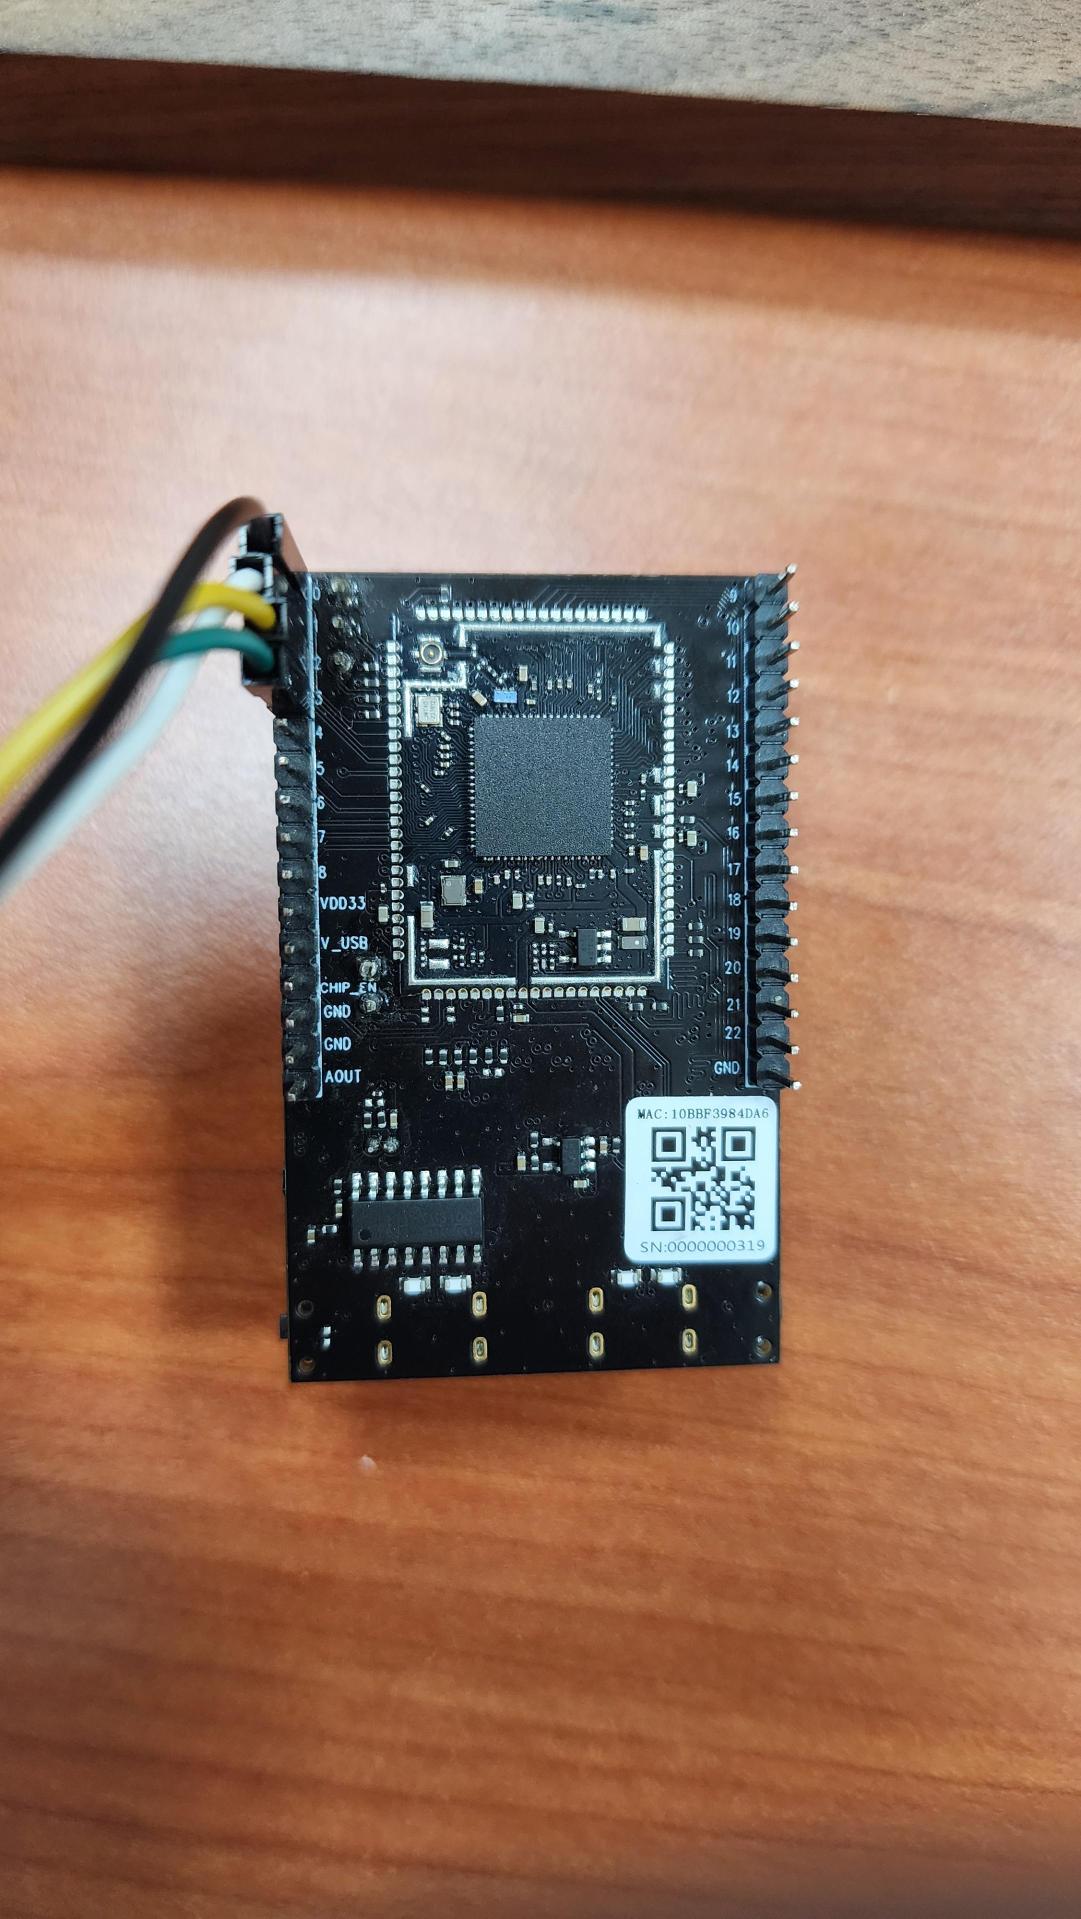
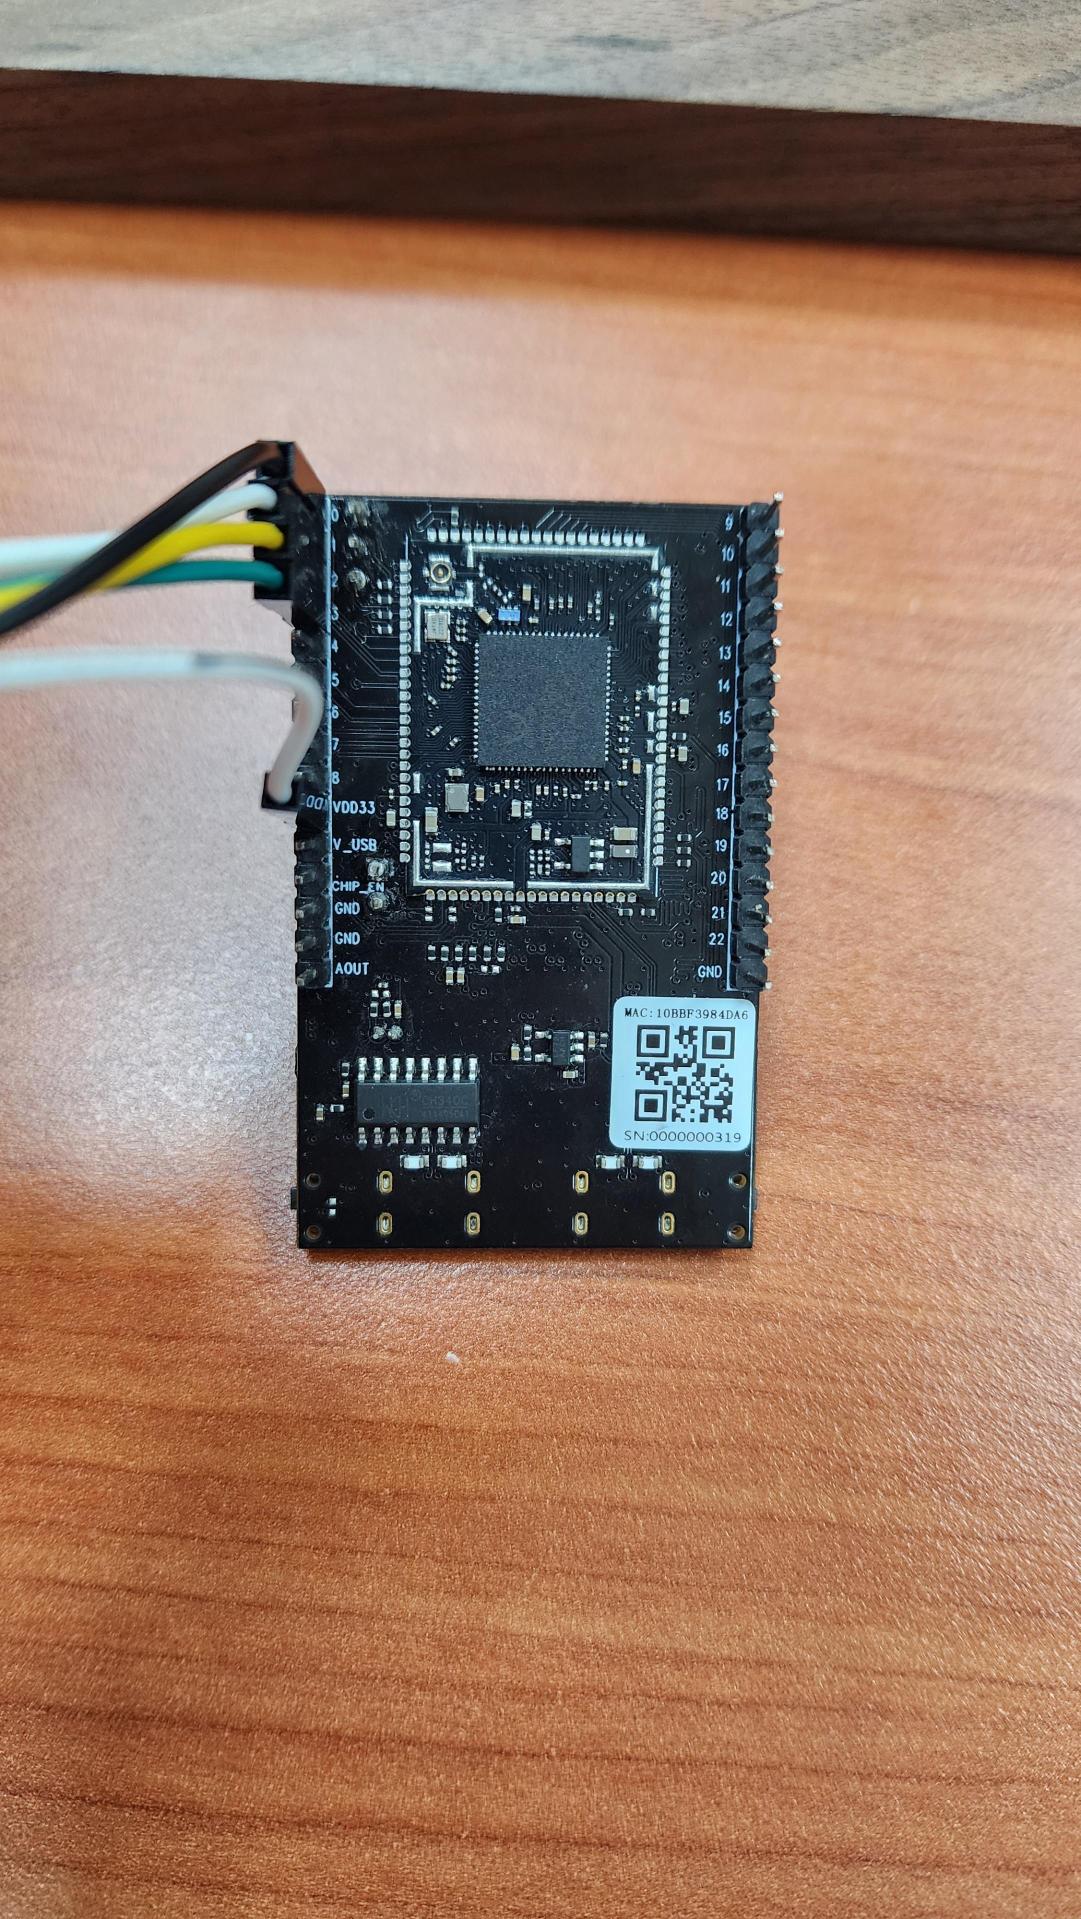
AMB82-mini x 1
Camera Module (eg. JX-F37) x 1
SD card x 1
Female-to-Female Jumper Wires x 4 (Recommended for Testing)
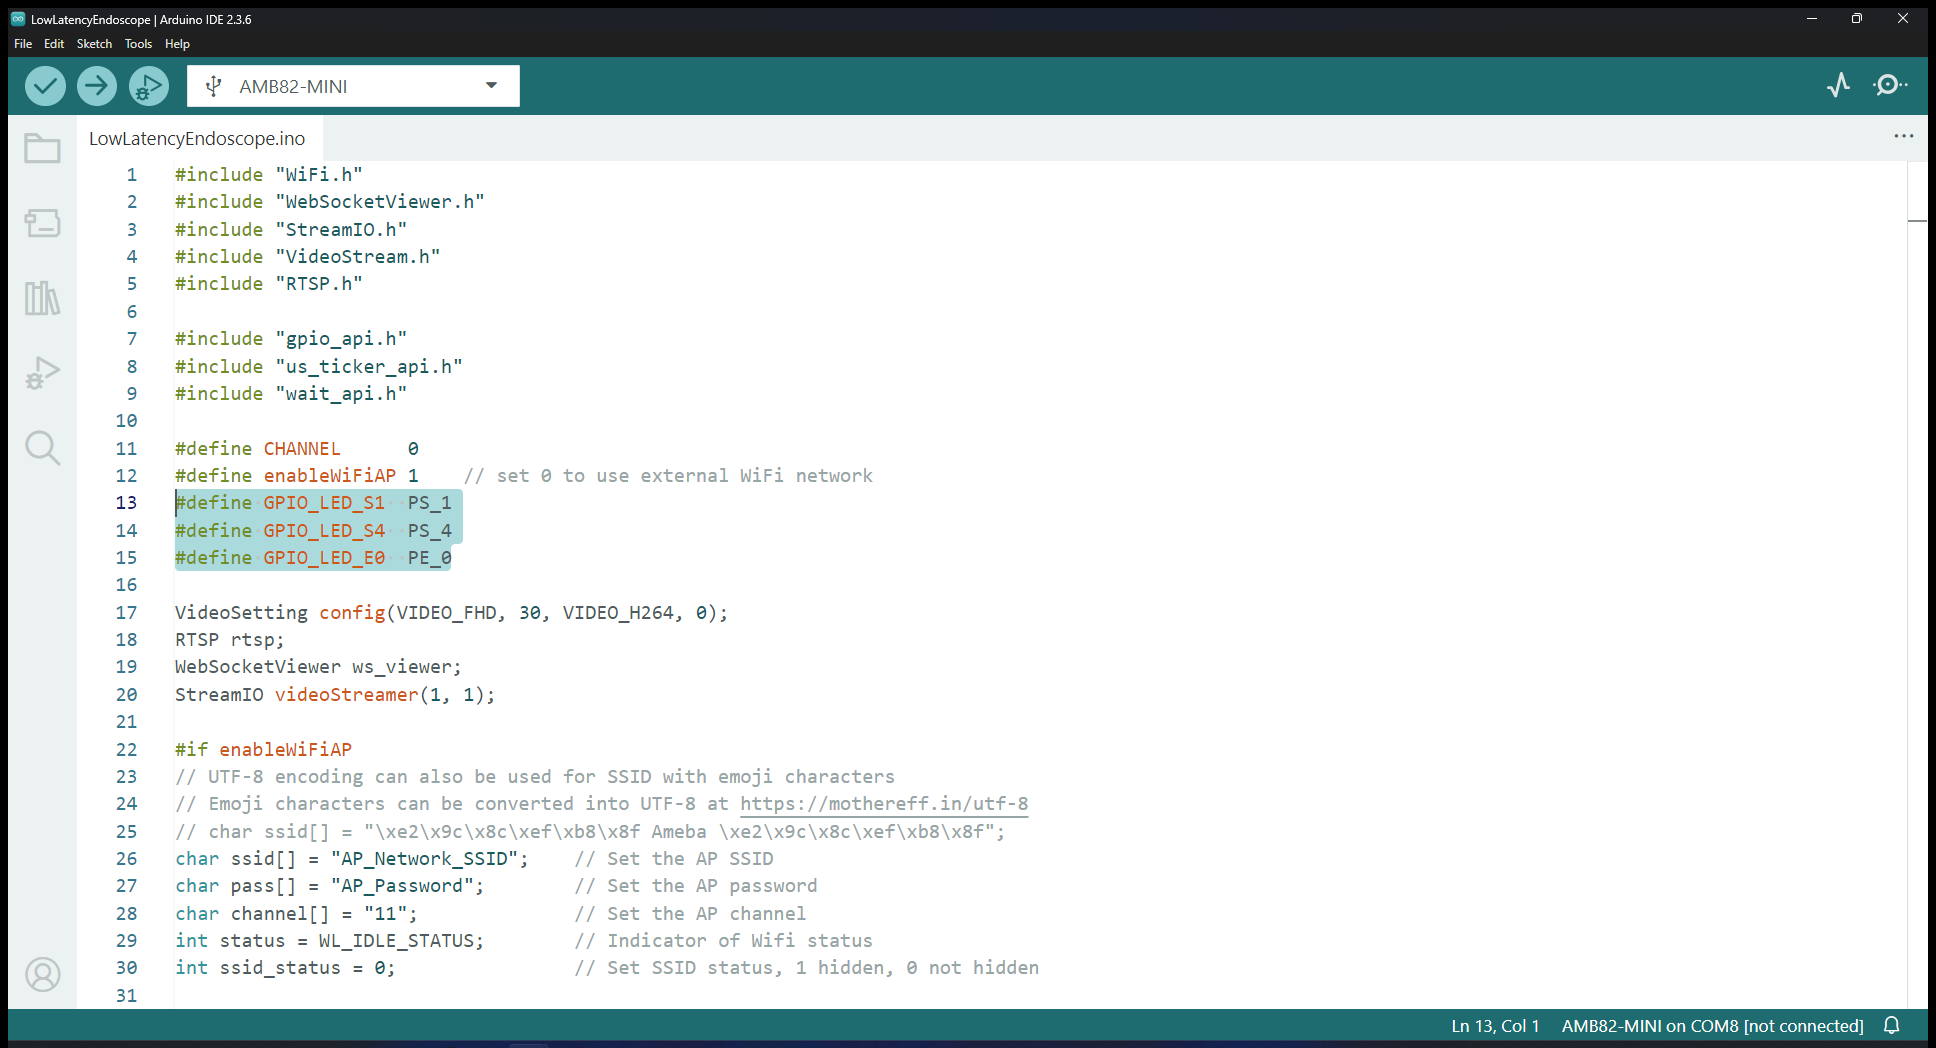
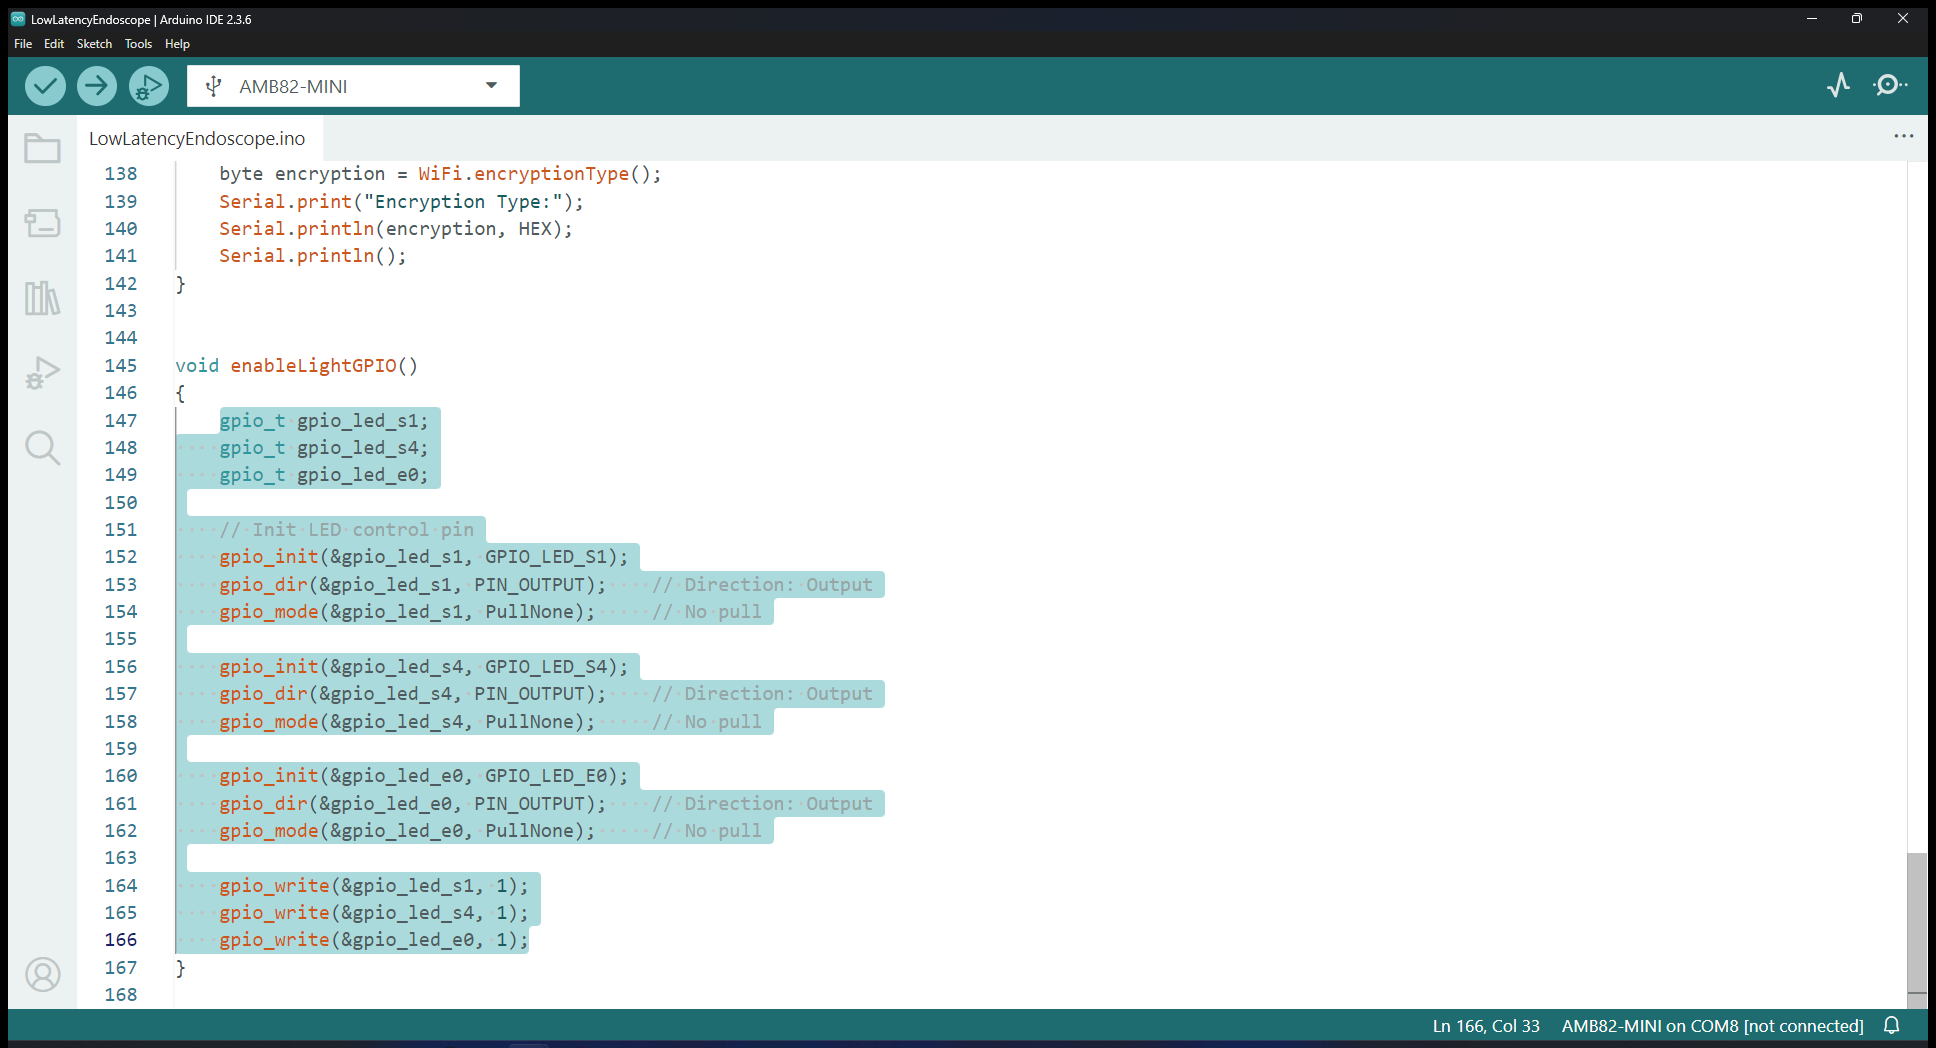
External Device with GPIO Control (Optional)
Introduction
This proof of concept example aims to capture images of birds nibbling on a birdfeeder while also giving users the option to watch them live.
How it Works
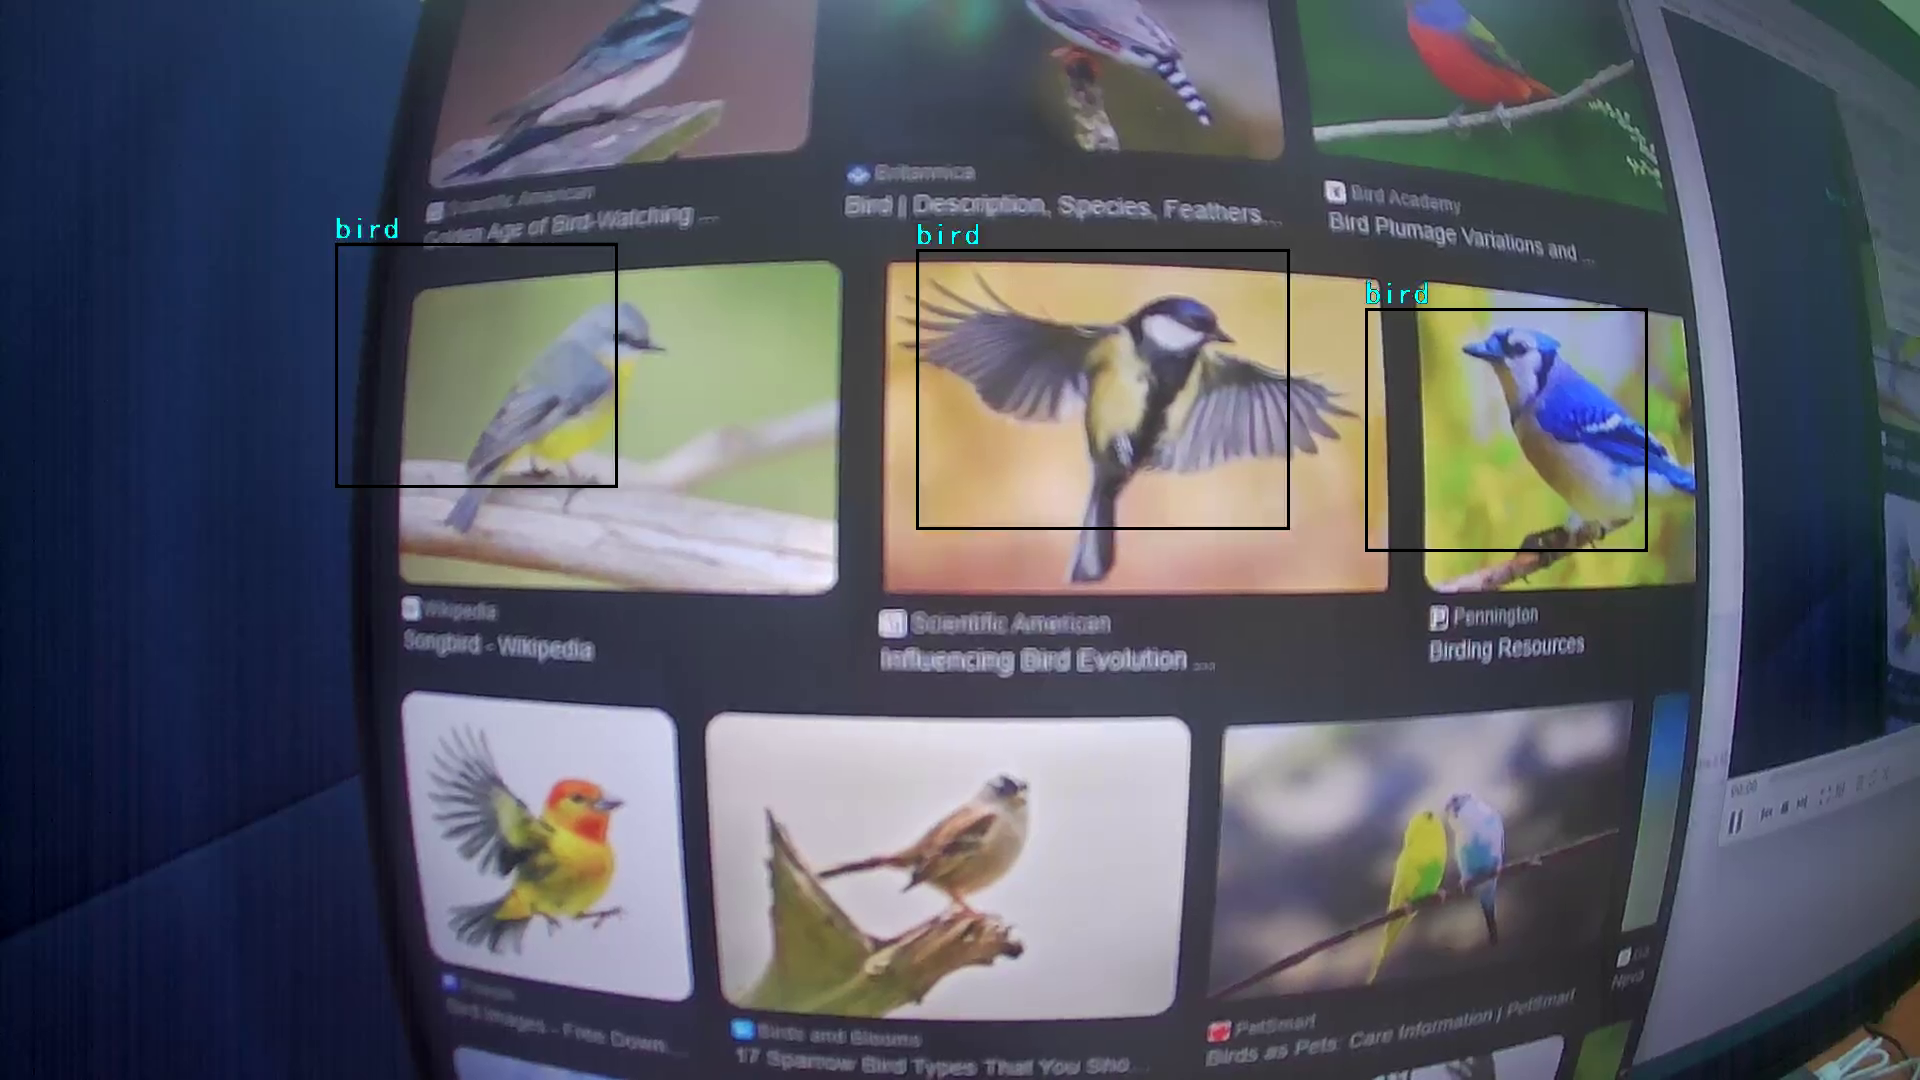
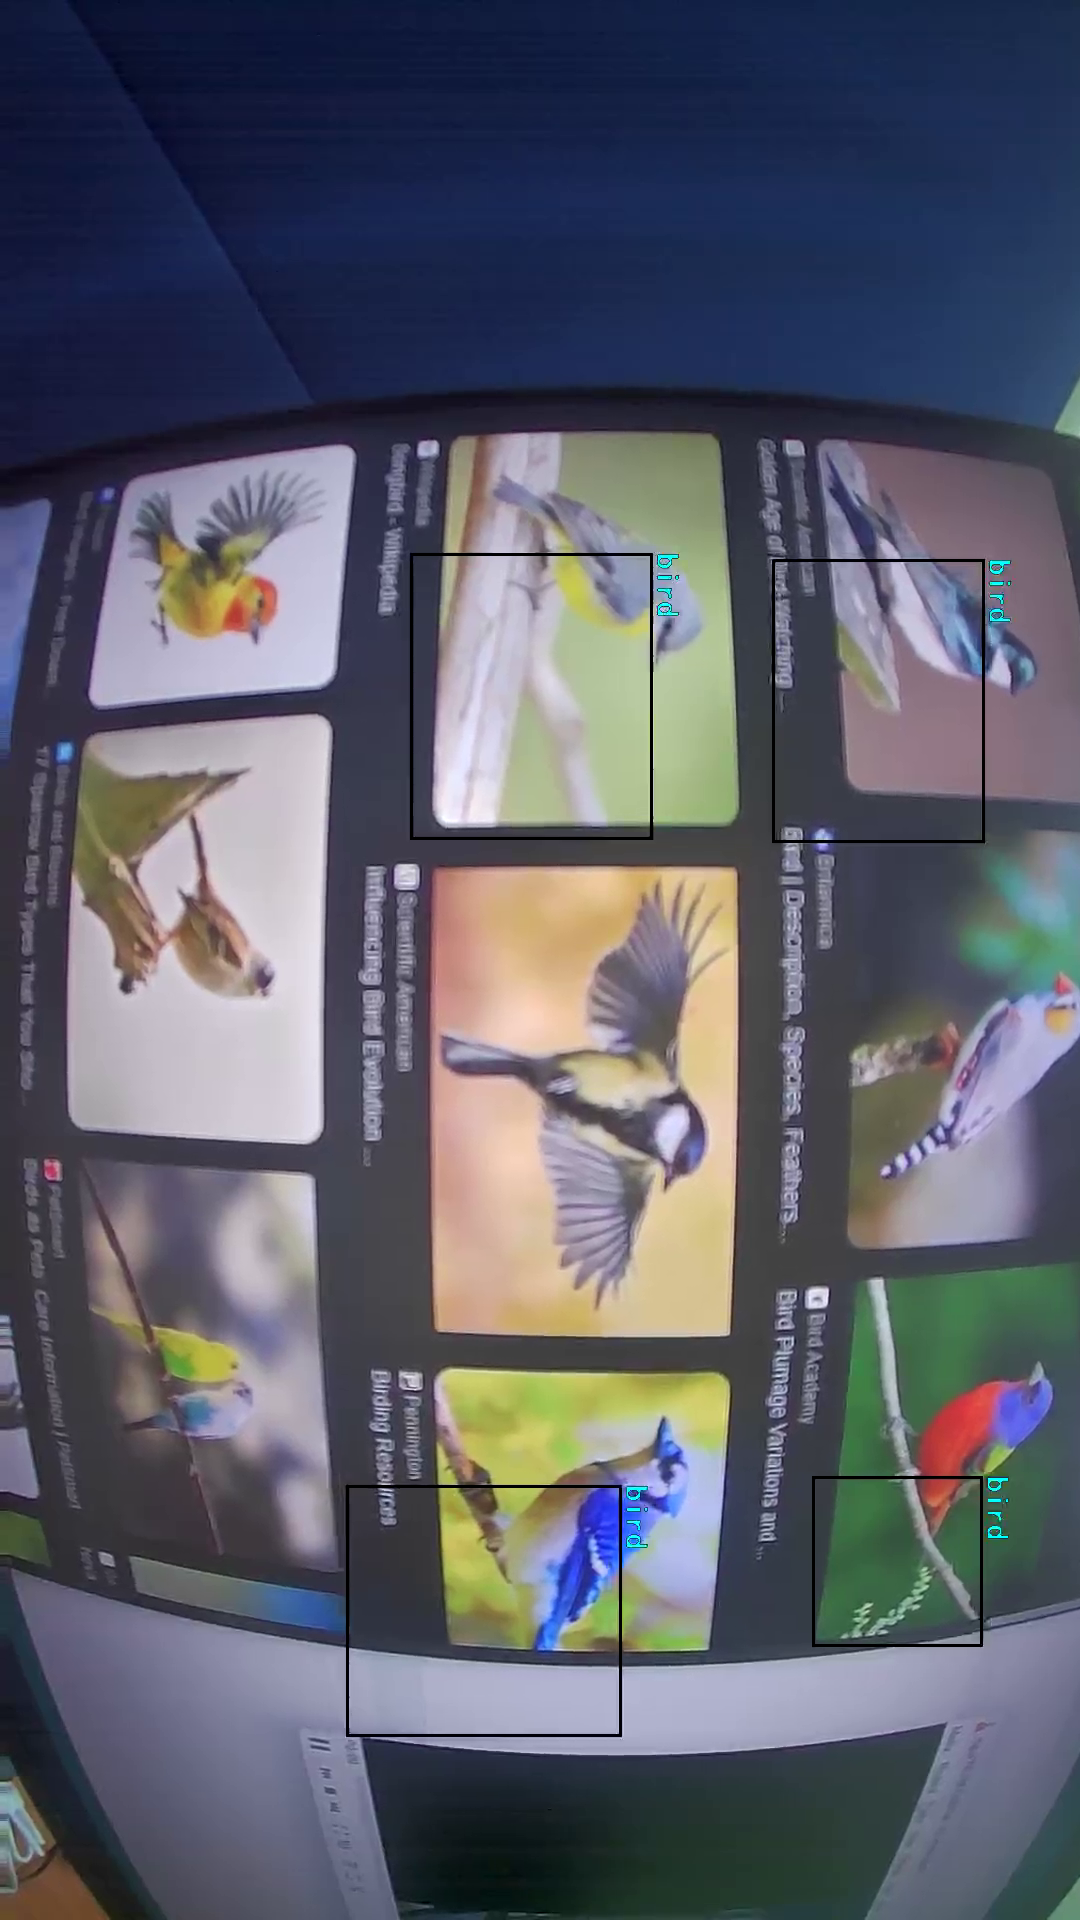
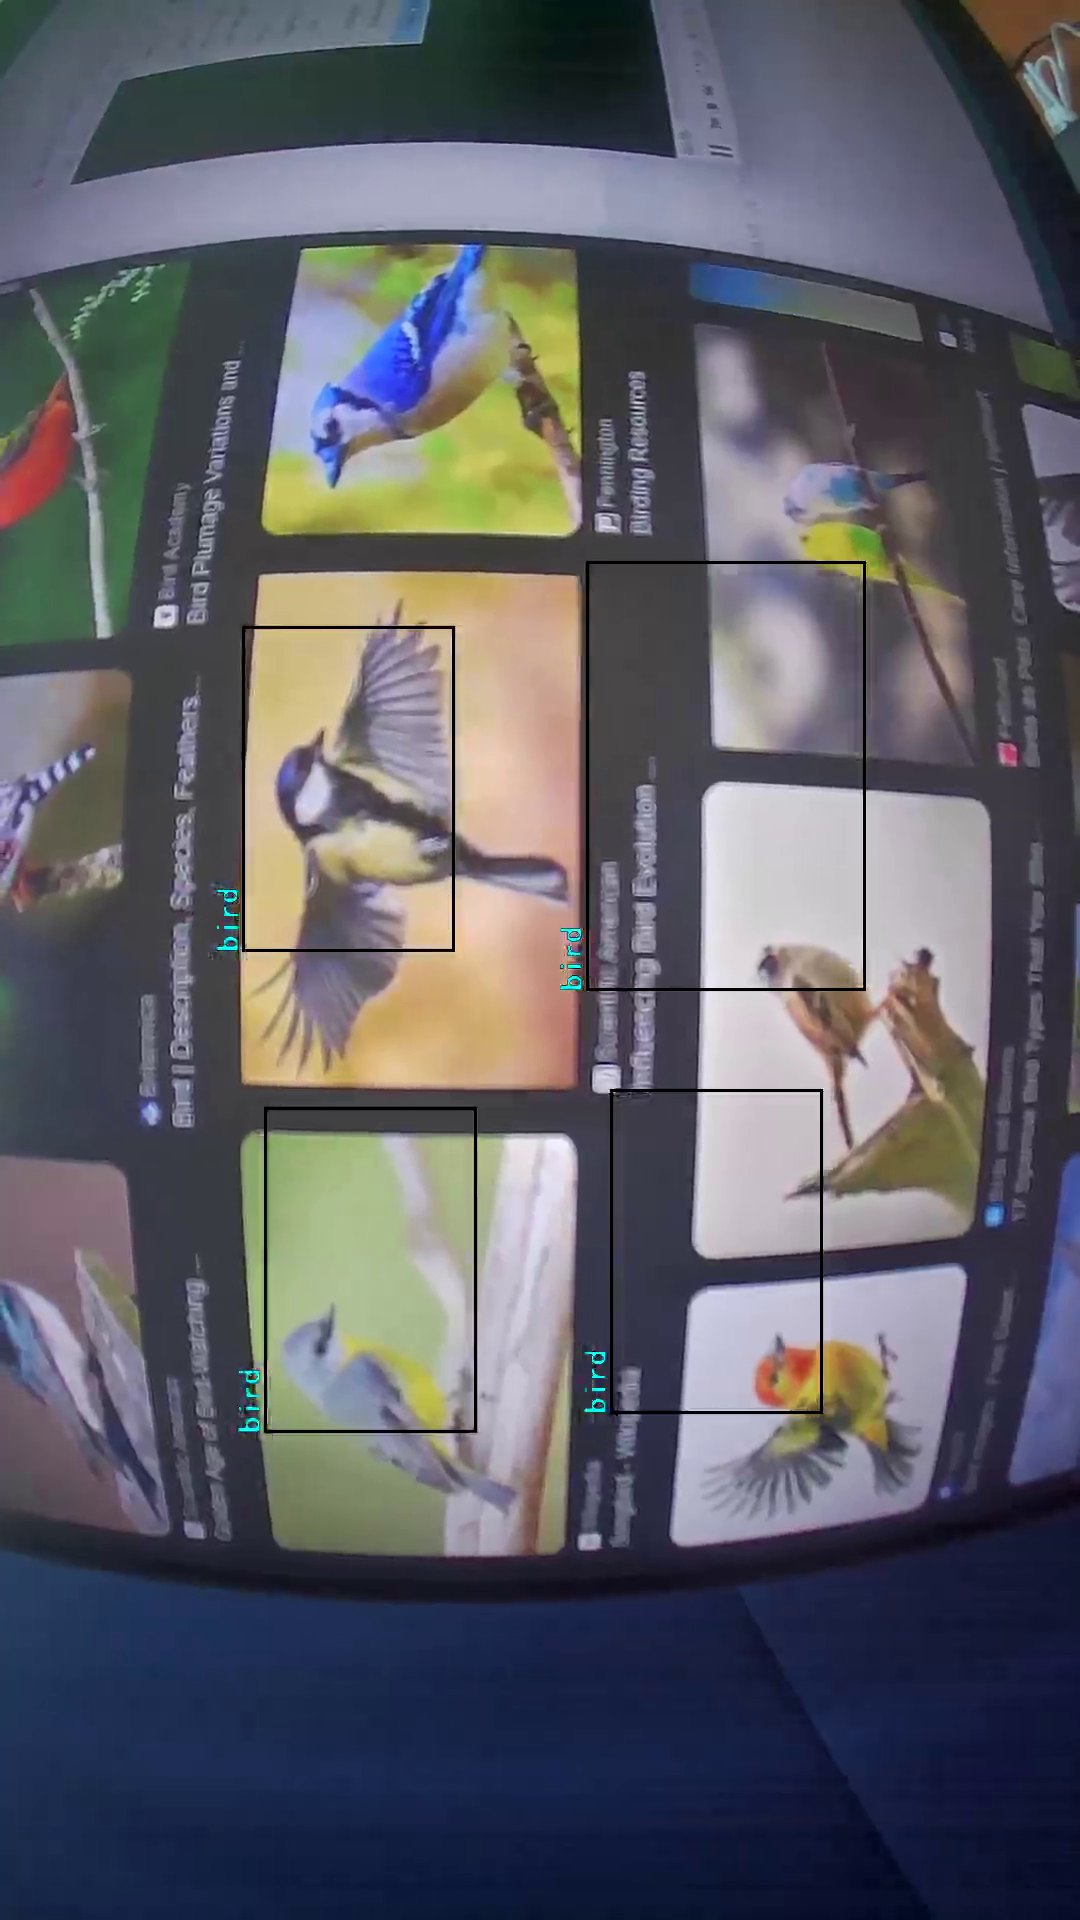
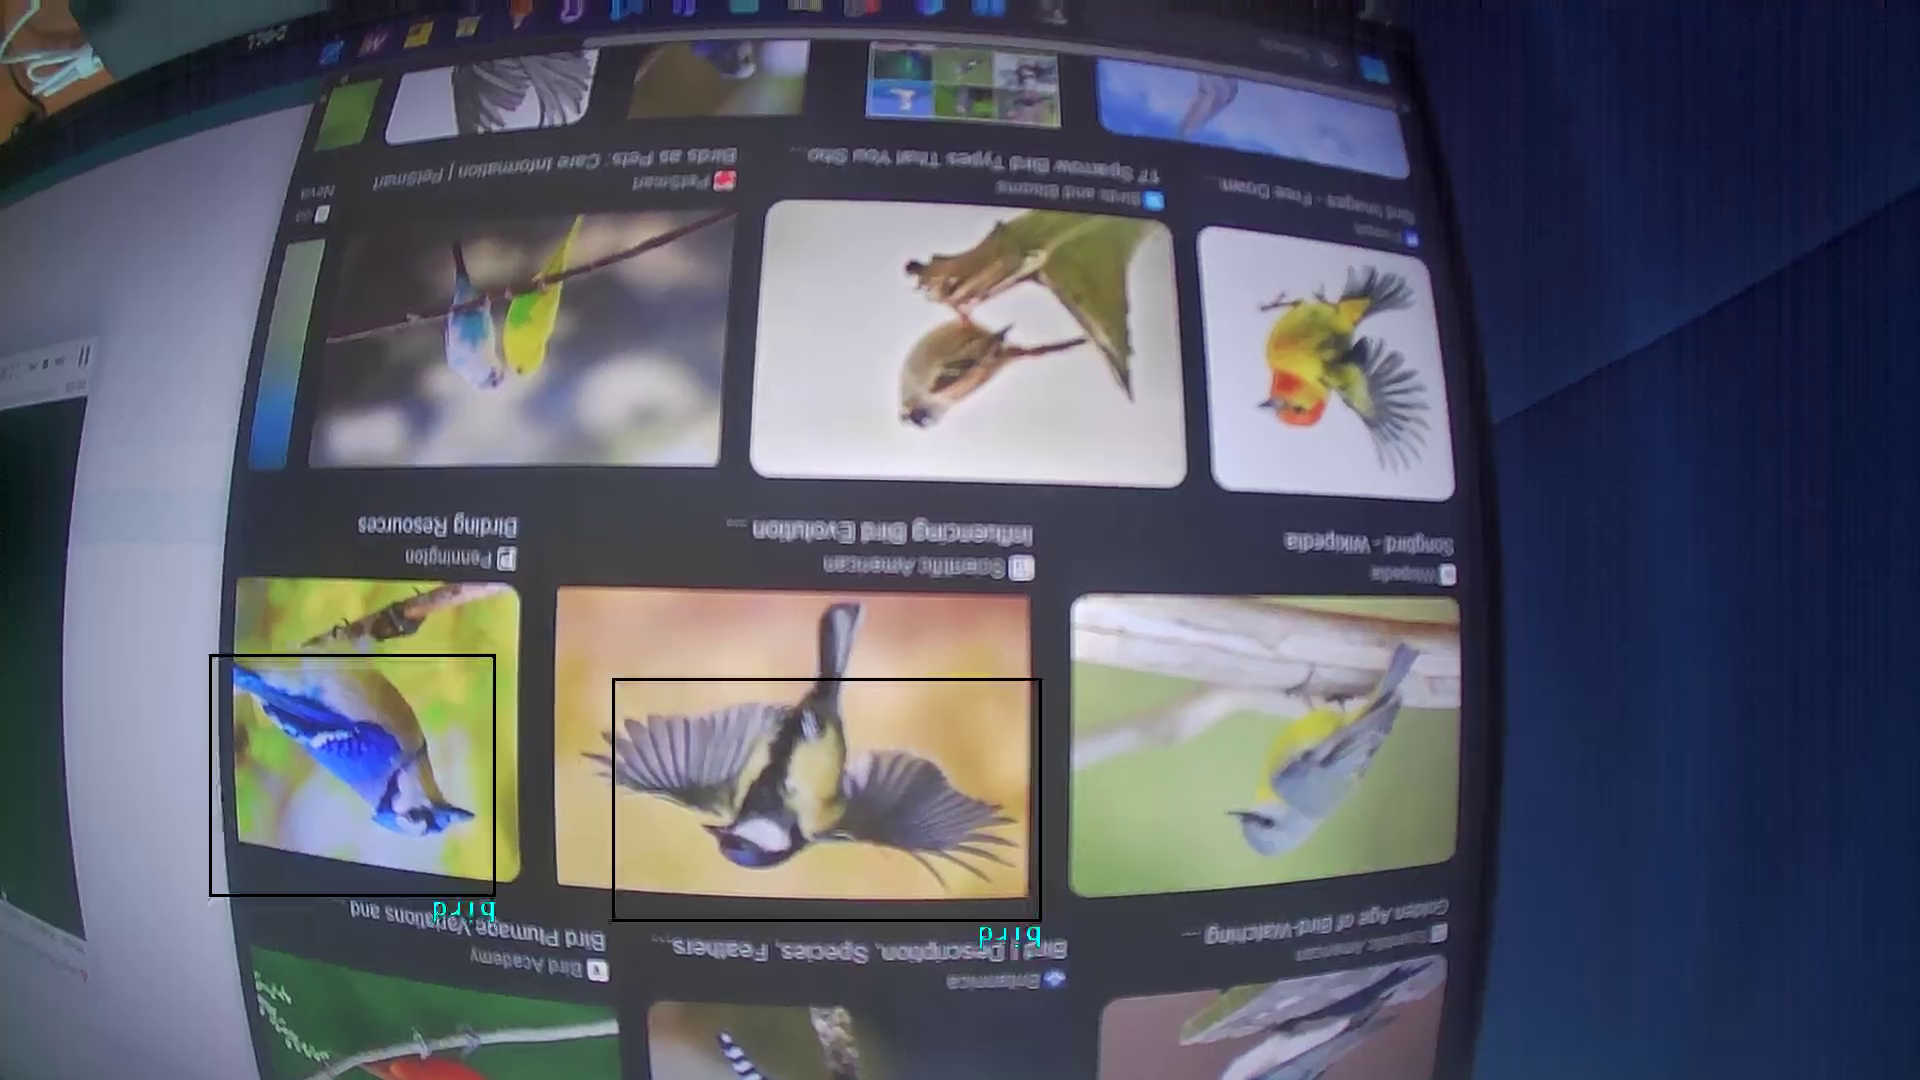
AMB82-Mini will be configured to run an RTSP video stream over WiFi for bird lovers to watch them feeding in real-time. Object detection is also used to identify birds only so that an image of the bird(s) may be captured while it is feeding. The example can be further improved by using a model trained to identify the various types of birds so that the program is able to determine when to take a picture more accurately. It will also allow you to name the files exactly to the type of bird that is seen on the birdfeeder. This example is also allows various settings of landscape and portrait modes for optimal viewing and image capturing during runtime.
Getting Started
Insert the SD card into AMB82-Mini.
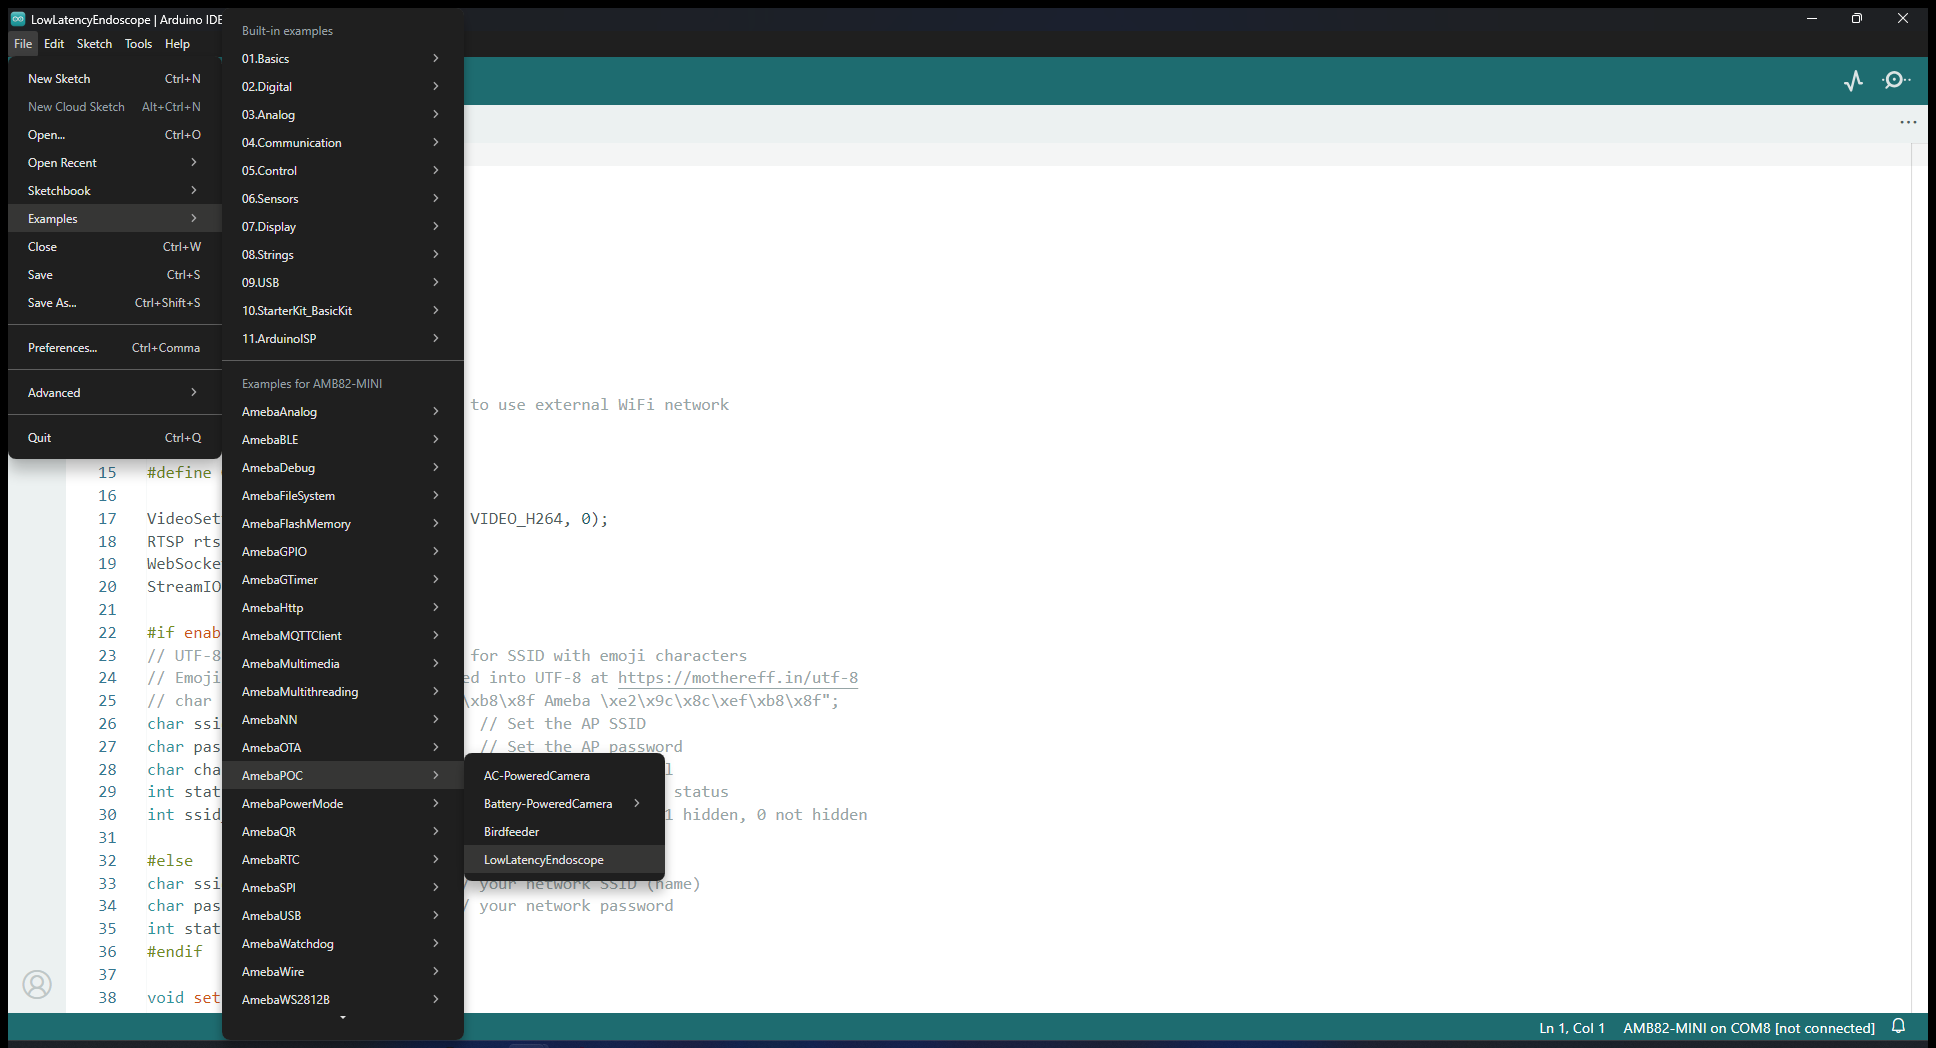
Find the POC example under “Files” -> “Examples” -> “POC” -> “Birdfeeder” from the top left corner of the ArduinoIDE.
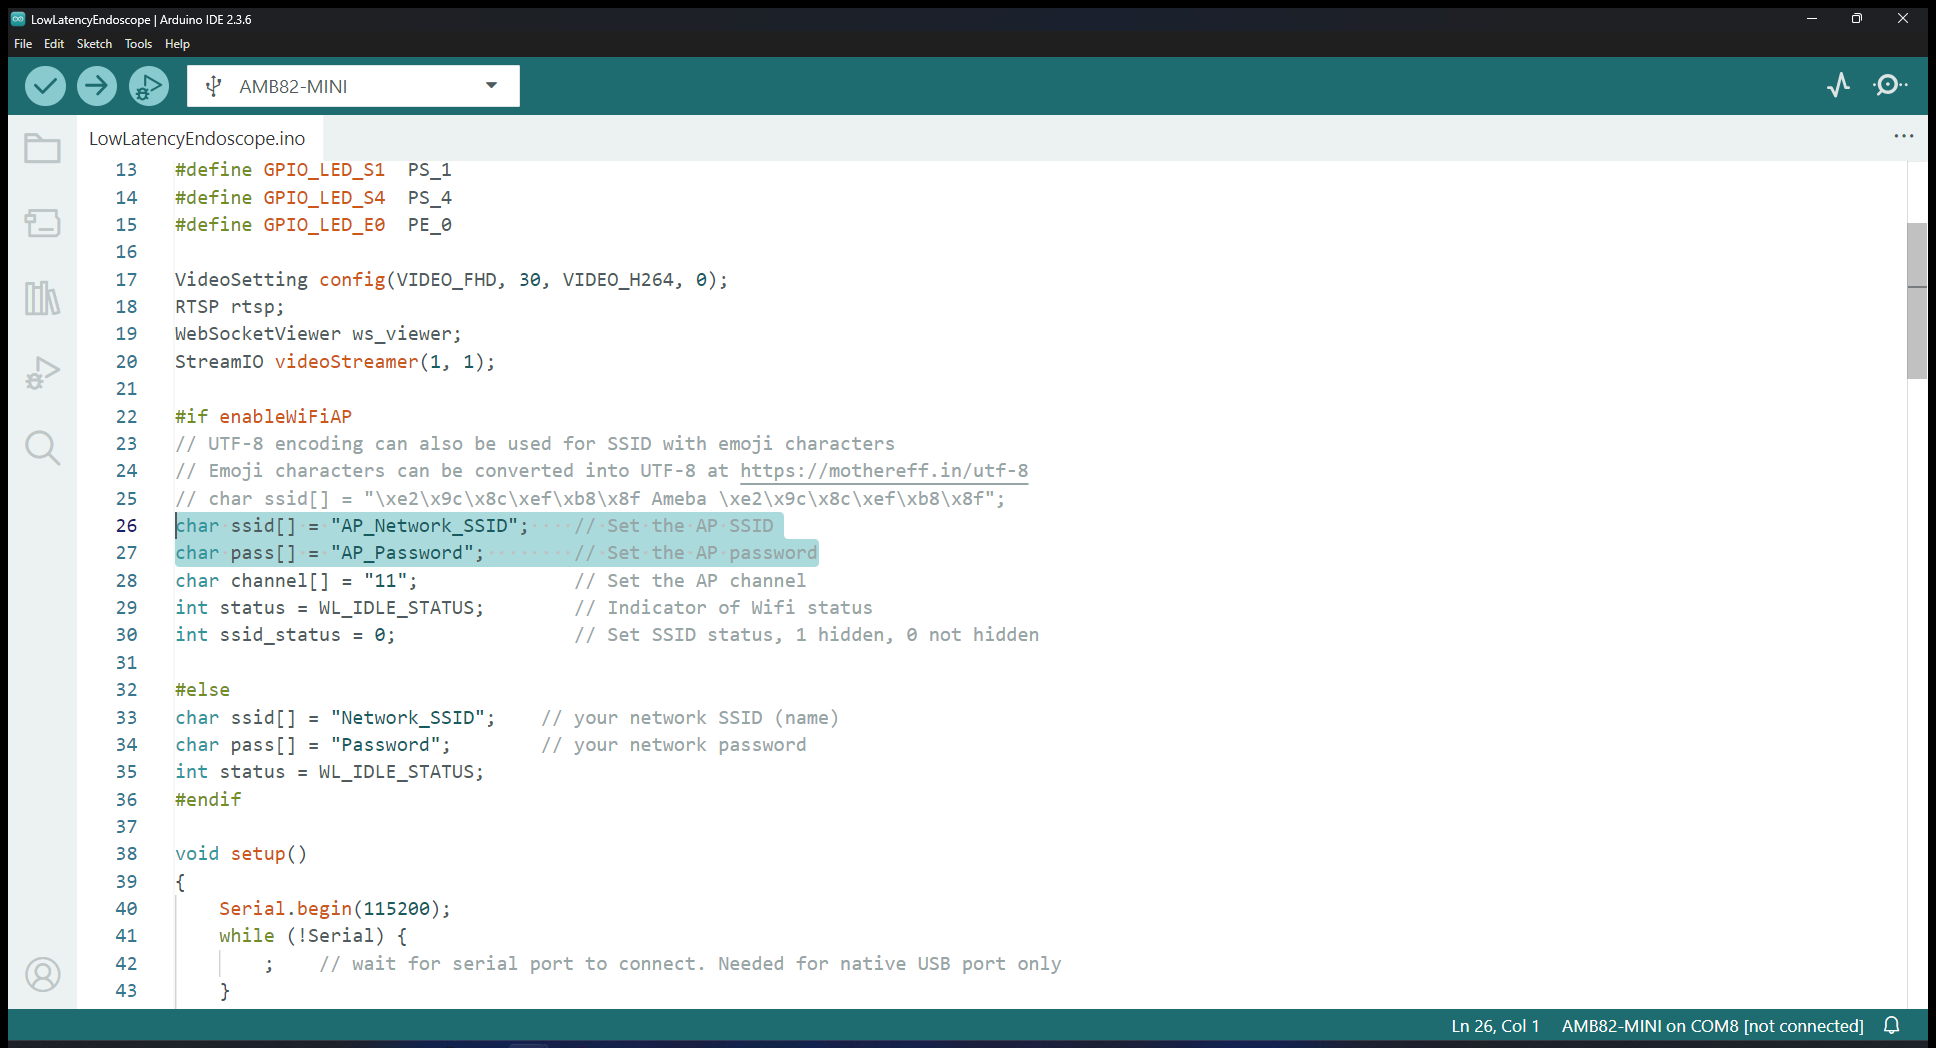
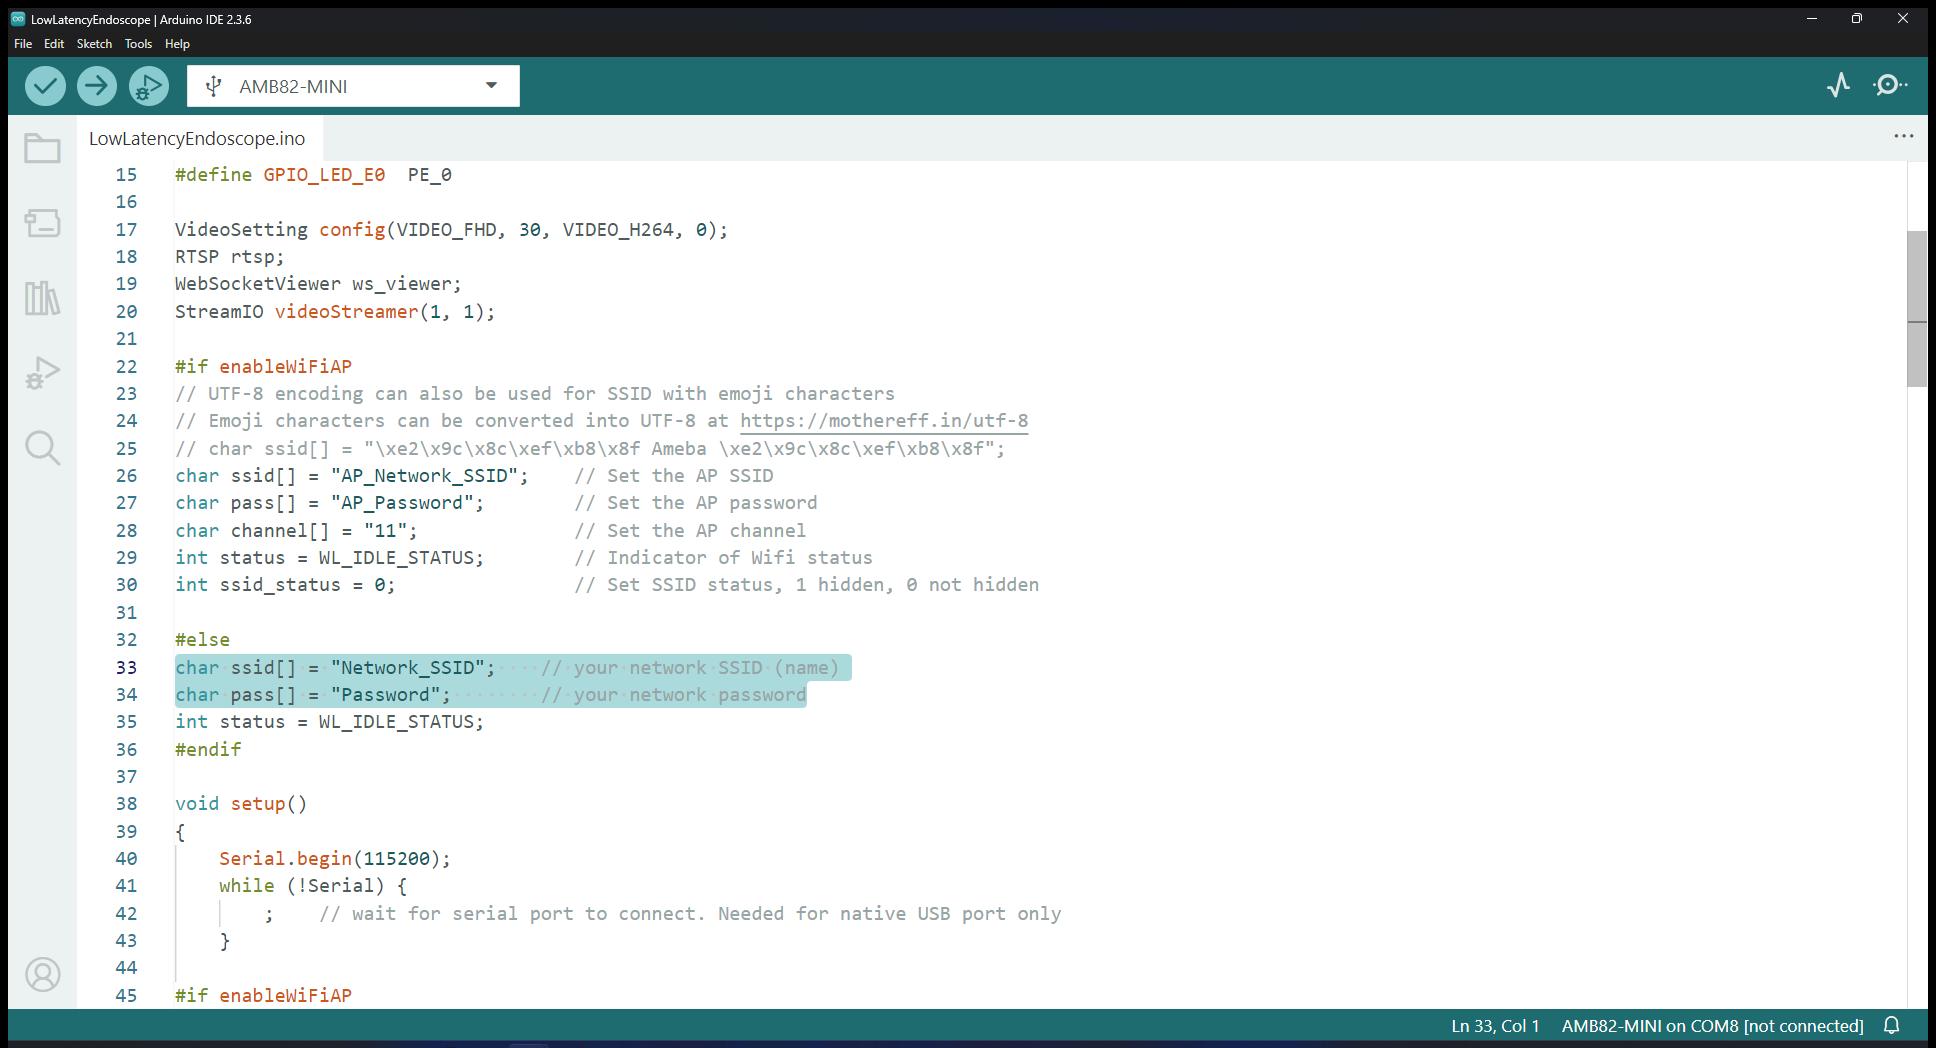
Edit the WiFi network ID and Password in the following sections. Your viewing device will have to be connected to the same WiFi network to watch the stream later.
Select the camera module that going to use from Tools -> Camera Options
Note
Please make sure the camera is supported otherwise system will returns “senesor ID error” or “VOE not init”.
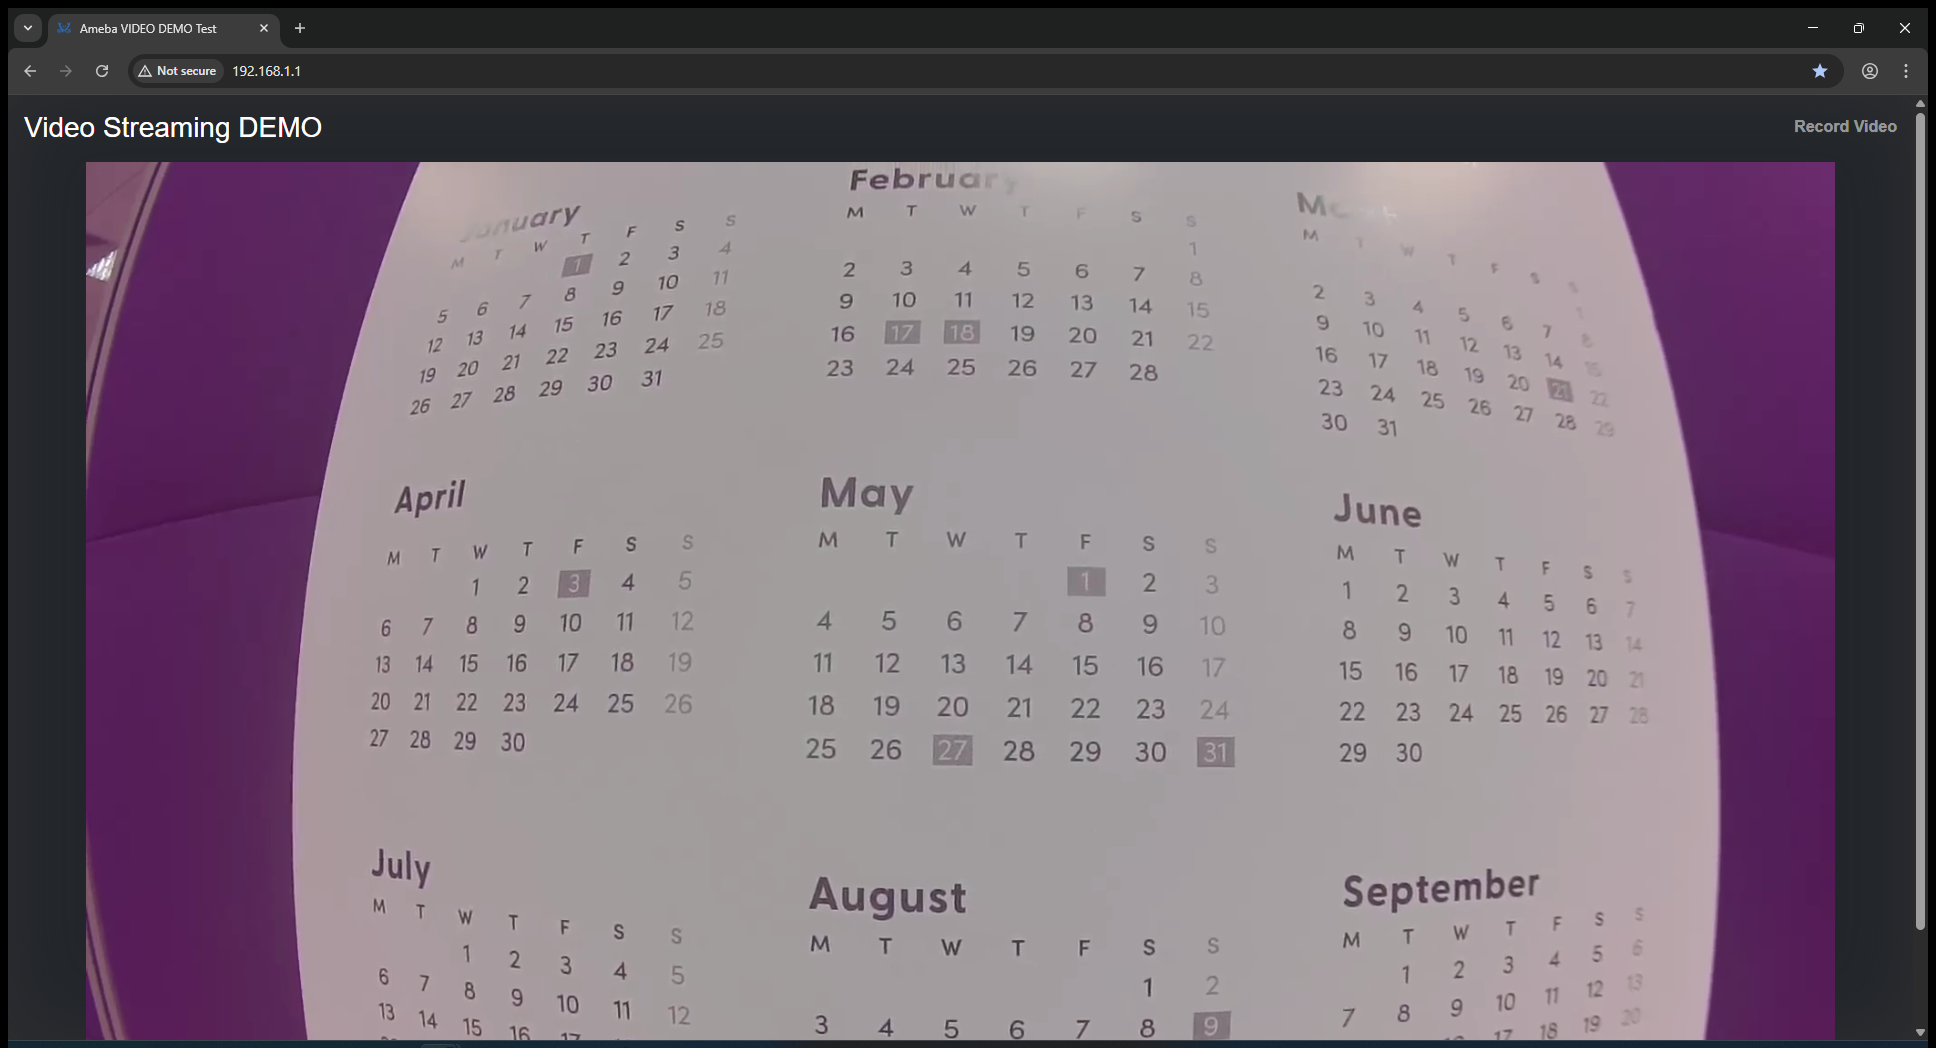
Compile and upload the code into AMB82-Mini and reset the board to start running the POC example. After pressing the Reset button, wait for the Ameba board to connect to the WiFi network. The board’s IP address and network port number for RTSP will be shown in the Serial Monitor.
Make sure your PC is connected to the same network as the Ameba Pro2 board for streaming. Since RTSP is used as the streaming protocol, key in “rtsp://{IPaddress}:{port}” as the Network URL in VLC media player, replacing {IPaddress} with the IP address of your Ameba Pro2 board, and {port} with the RTSP port shown in Serial Monitor (e.g., “rtsp://192.168.1.154:554”). The default RTSP port number is 554. In the case of two simultaneous RTSP streams, the second port number defaults to 555.
You may choose to change the caching time in “Show more options”. A lower cache time will result in reduced video latency but may introduce playback stuttering in the case of poor network conditions.
Next, click “Play” to start RTSP streaming. The video stream from the camera will be shown in VLC media player. Meanwhile, in your Serial Monitor, the message “rtp started (UDP)” will appear.
After opening the RTSP stream, you can test the GPIO pins (0, 1, 2, 3) for the rotation into various landscape and portrait modes. Connect the four Female-to-Female jumper wires to the four GPIO pins.
In order to test the functions, only use one of the jumper wires to plug in and out of the VDD33 pin or GND pin to trigger the rotation.
The following images are the landscape/portrait video and image settings for GPIO pins 0, 1, 2 and 3 respectively.
Optional
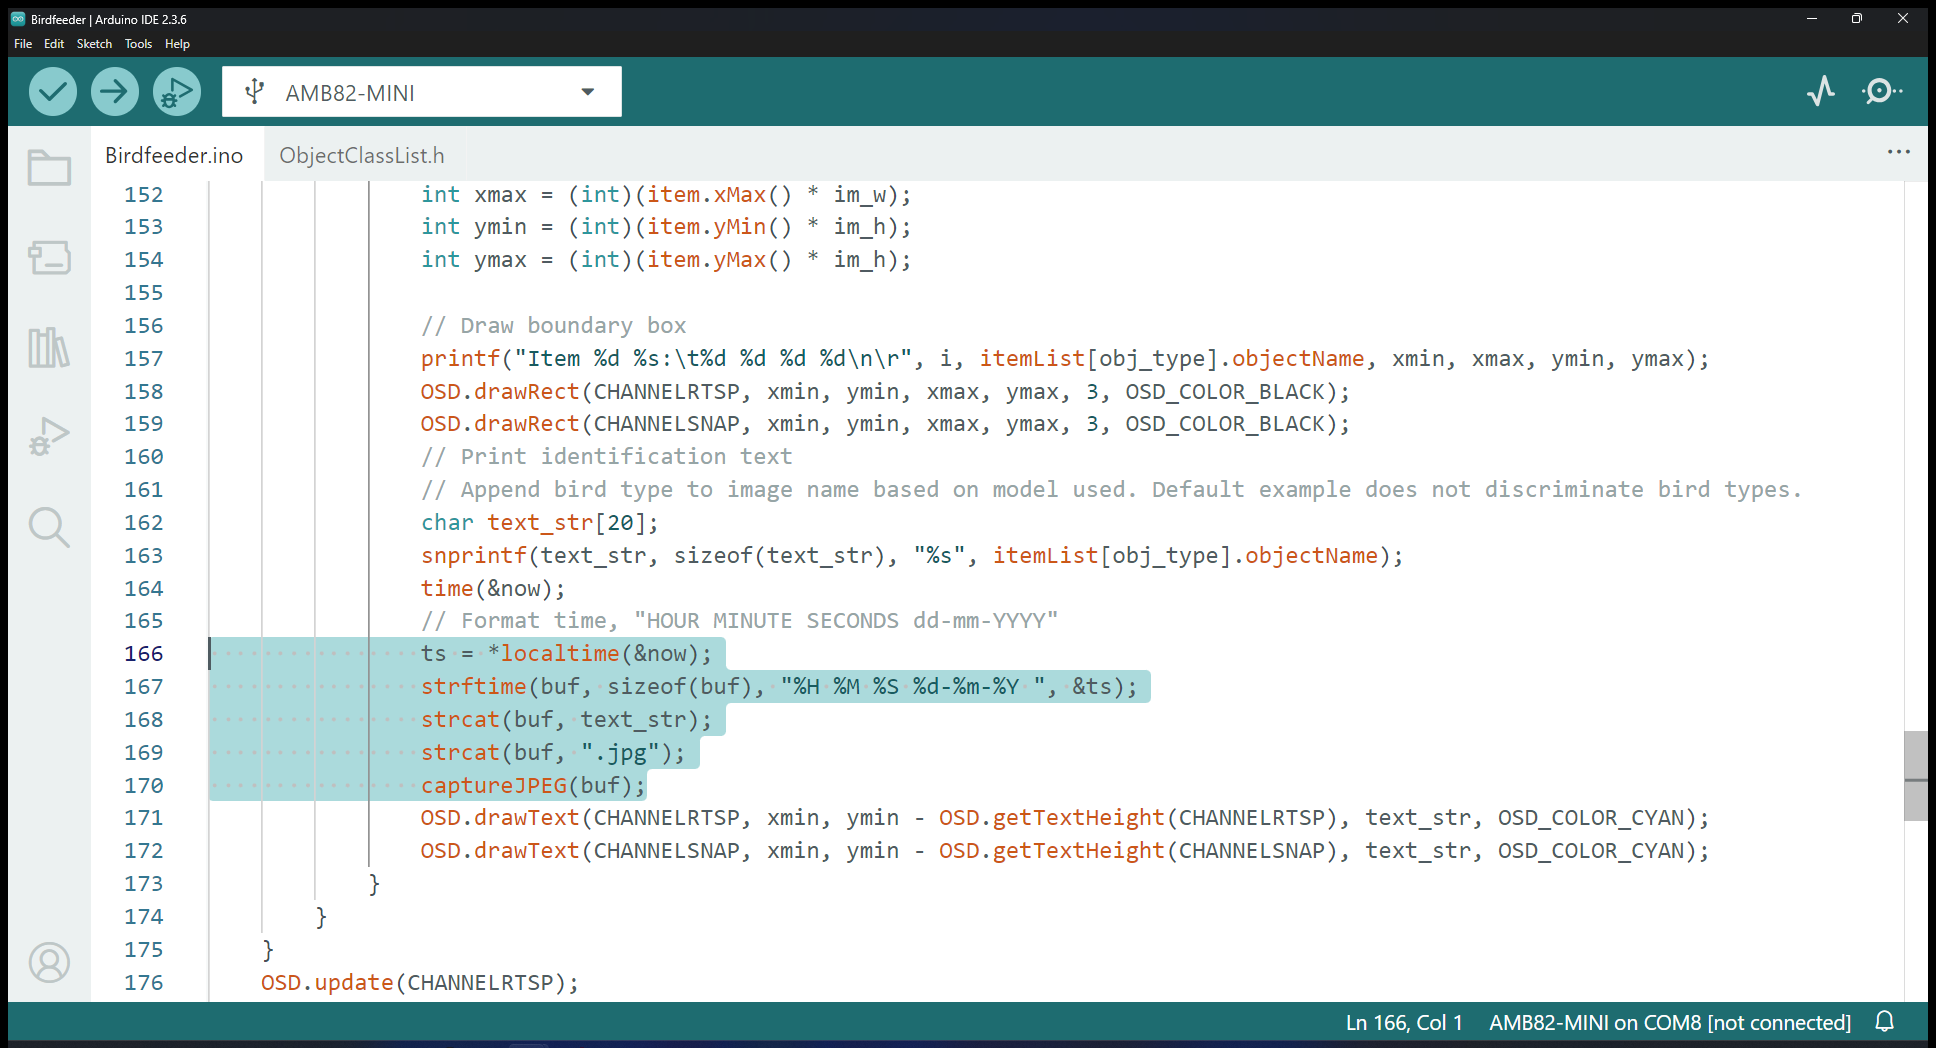
The default example is set to capture images of the bird(s) when object detection count is at least ONE. It will also draw boundary boxes for the areas containing the bird(s) as seen in the previous section. You may wish to train your bird detection model so that the image files will contain the bird’s species instead of just ‘bird’ in its file name. Please refer to this example on how to change the model used in this example Example for Changing Object Detection Model.
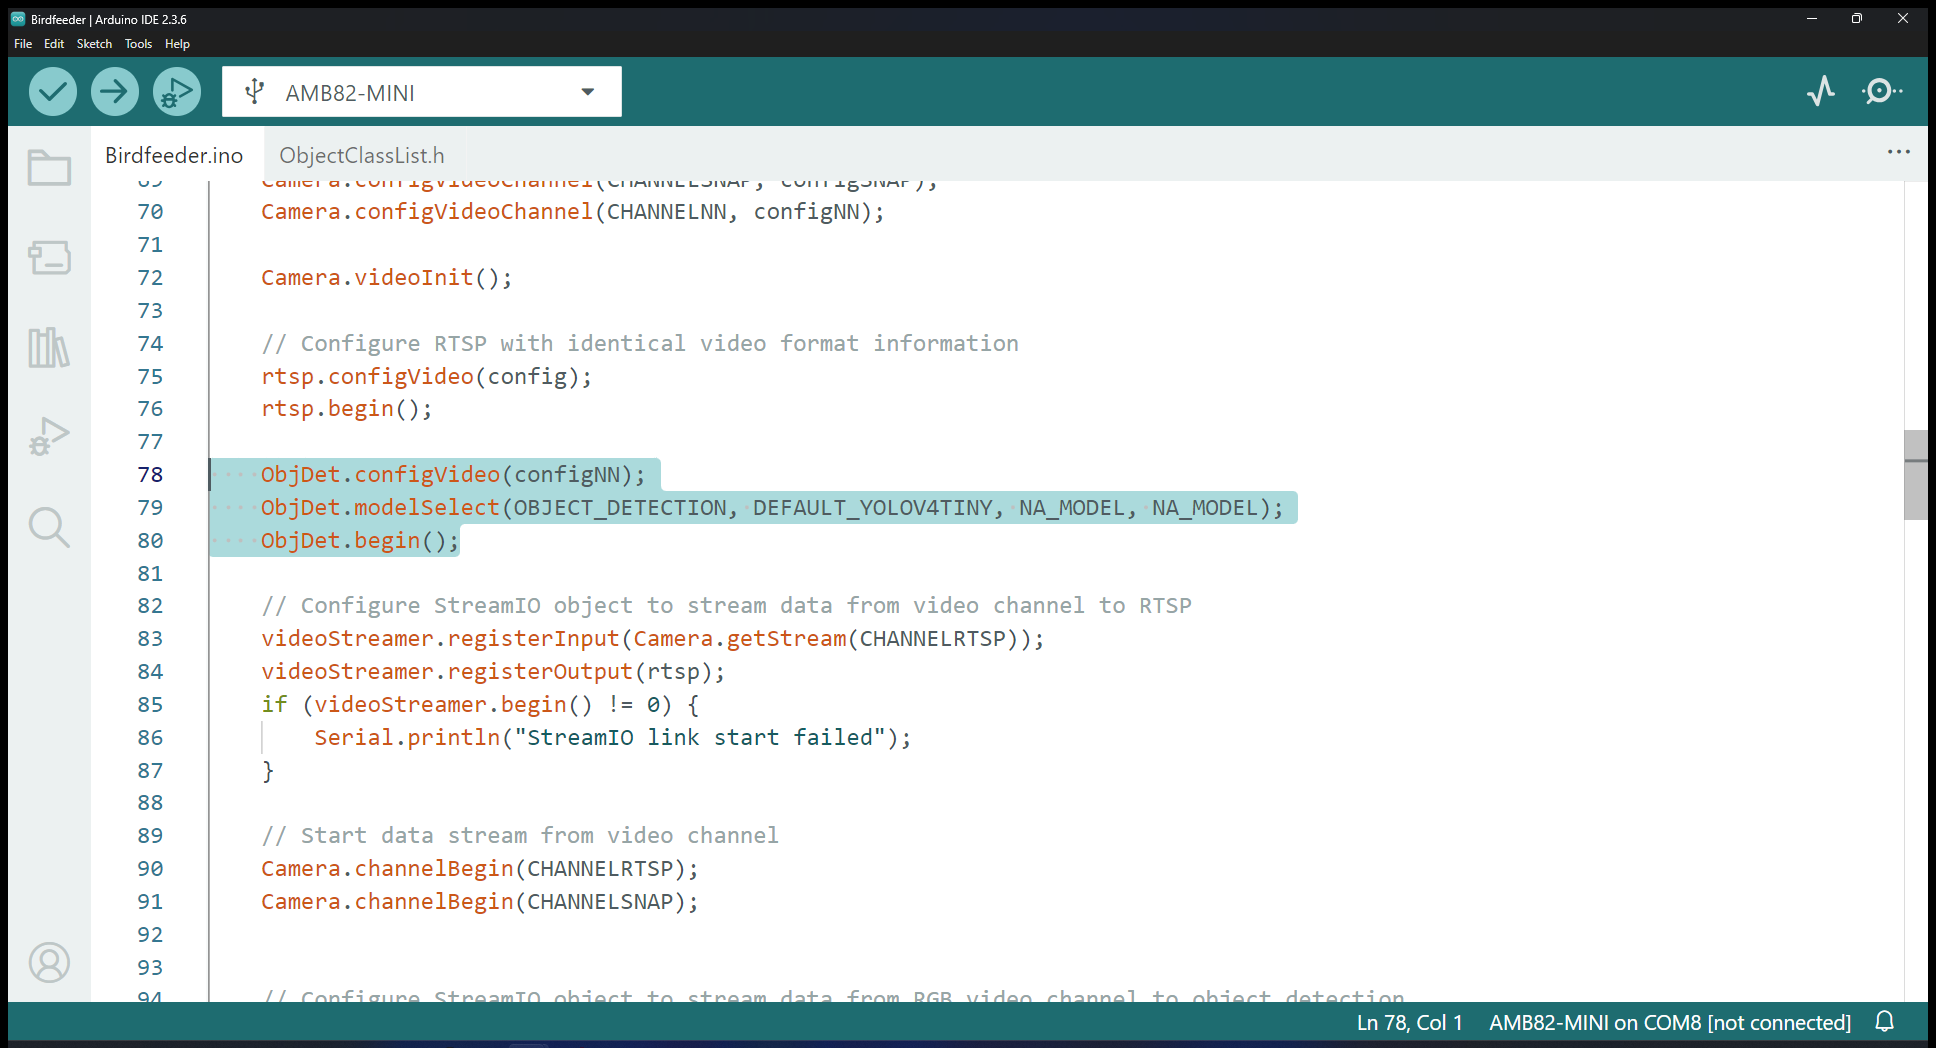
The code section handling the process upon detecting a bird is here.

You may edit the file name in this particular section of the code.