Low-latency Endoscope
Materials
AMB82-mini x 1
Endscope Camera Module (eg. OV9734) x 1
WiFi capable device with browser (Microsoft Edge, Google Chrome, etc)
Introduction
This proof of concept example is focused on delivering very low latency live viewing of video streams, particularly for medical scopes. The solution is implemented by using the AMB82-mini as a WiFi Access Point (AP) for an external device to connect to and view the video stream on the browser. There is also an option to connect the AMB82-Mini to an external WiFi source if needed as certain environments may necessitate viewing the video stream over a longer distance which cannot be achieved when using the WiFi AP mode alone.
How it Works
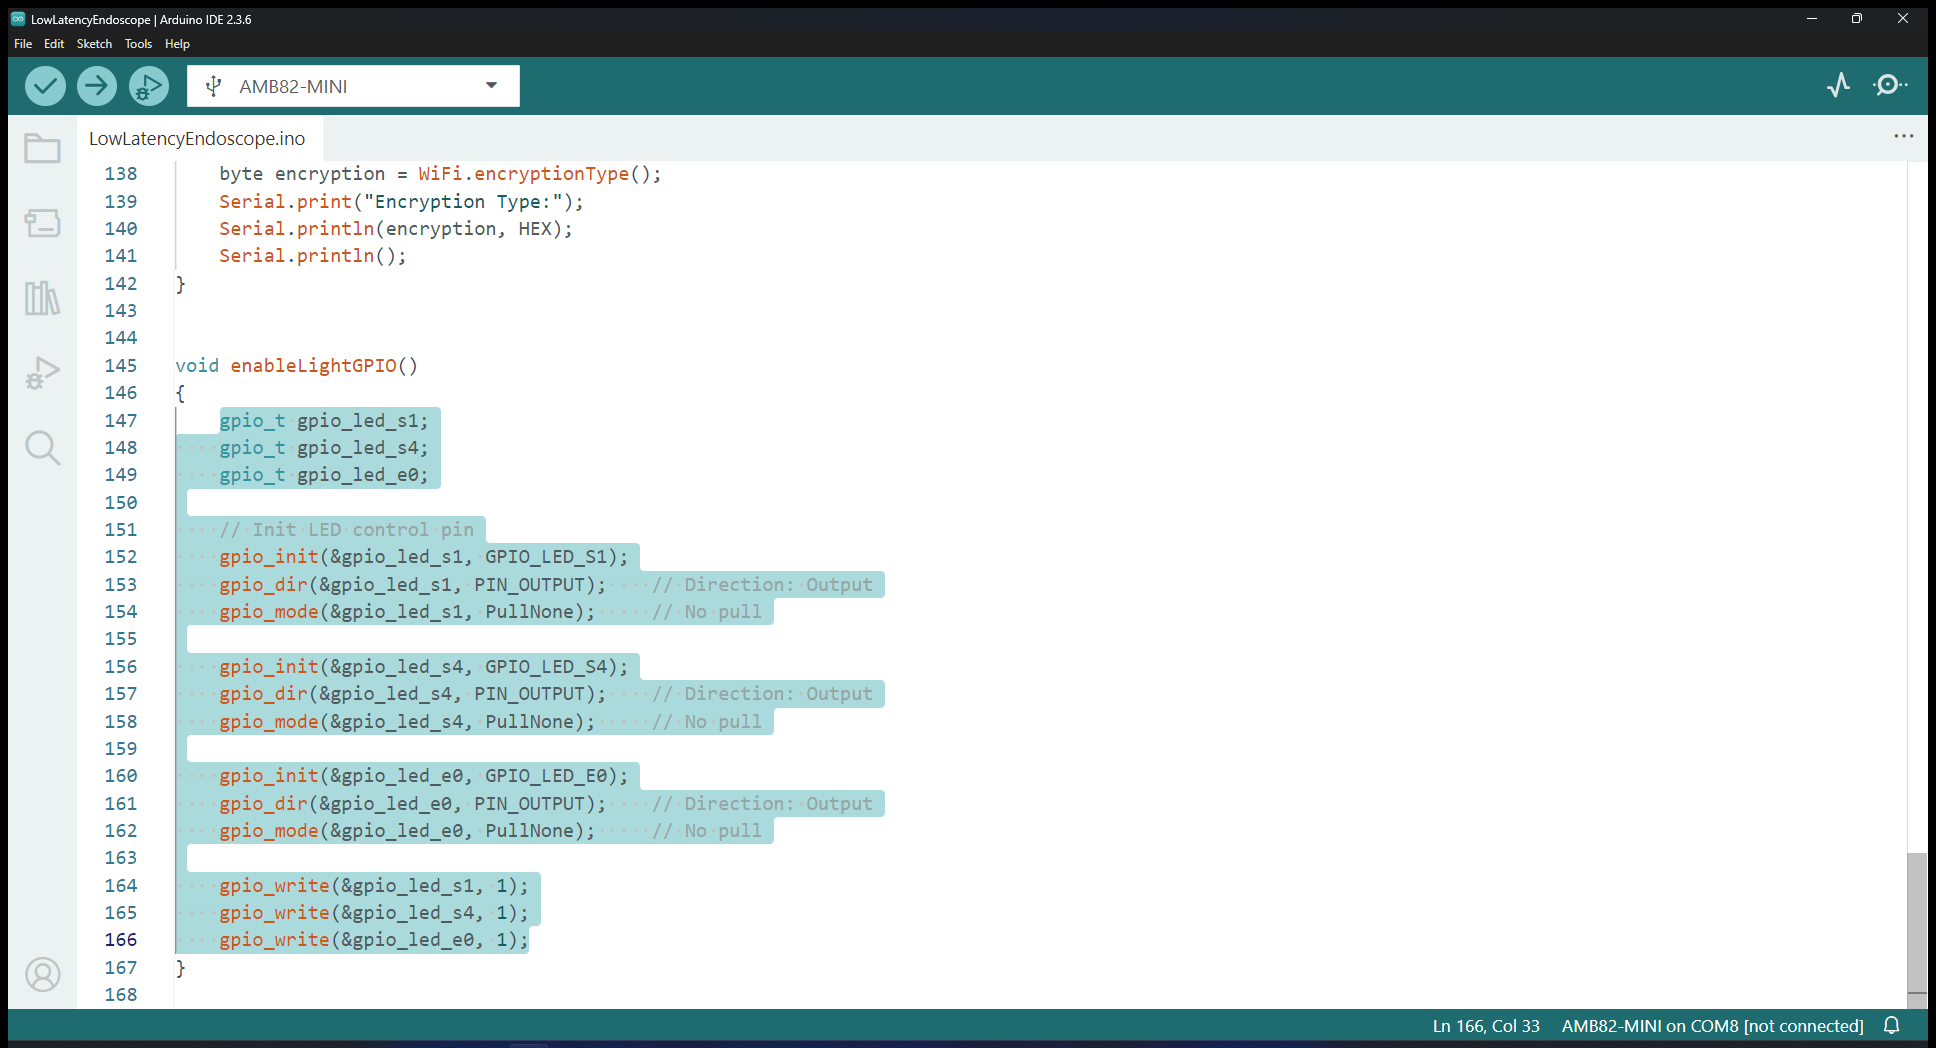
When using the AMB82-Mini in WiFi AP mode, external devices will be able to connect directly to AMB82-Mini. Otherwise when relying on an external WiFi network, both the AMB82-Mini and the viewing device will have to be connected to the same WiFi network. Then a websocket viewer is set up to allow connected devices to view the video stream in real-time but this will require a browser for viewing. The camera’s flashlight will be turned on at the end of the set up by outputting high for the respective GPIO control pins.
Getting Started
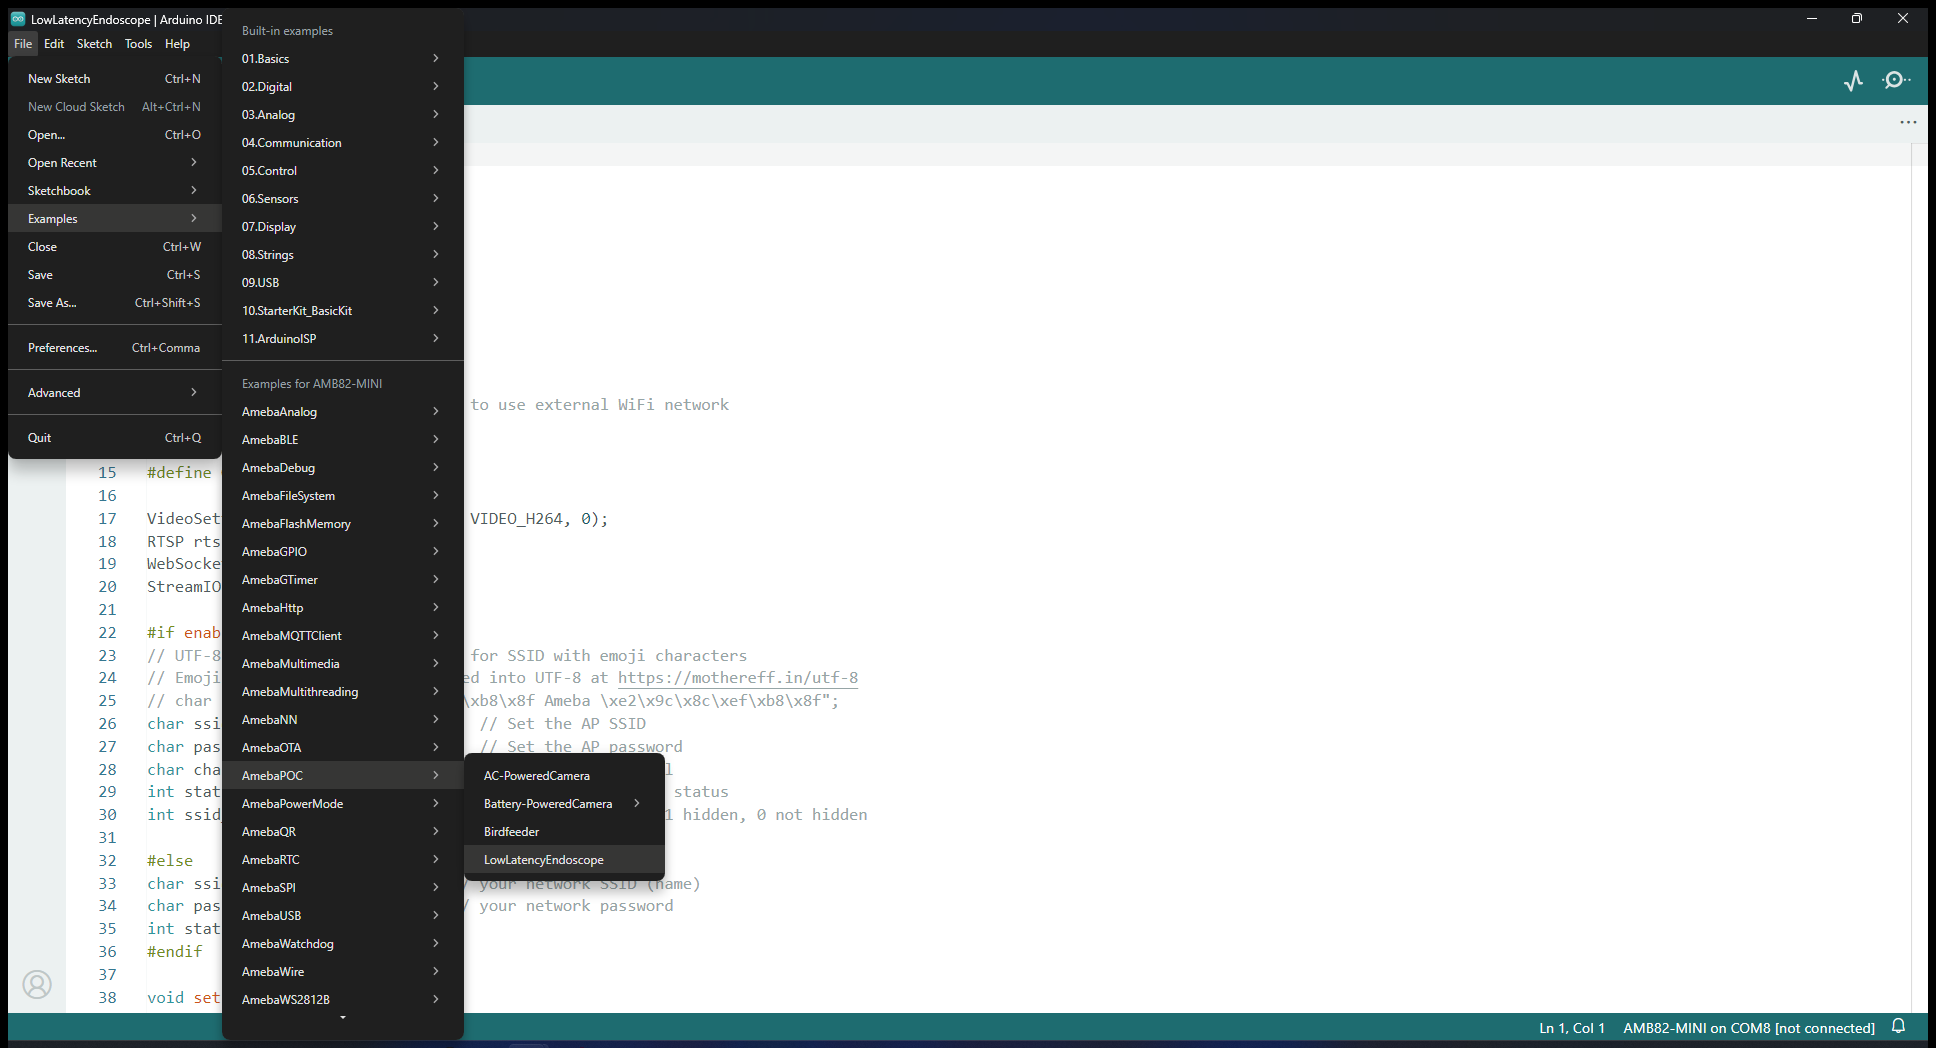
Find the POC example under “Files” -> “Examples” -> “AmebaPOC” -> “LowLatencyEndoscope” from the top left corner of the ArduinoIDE.
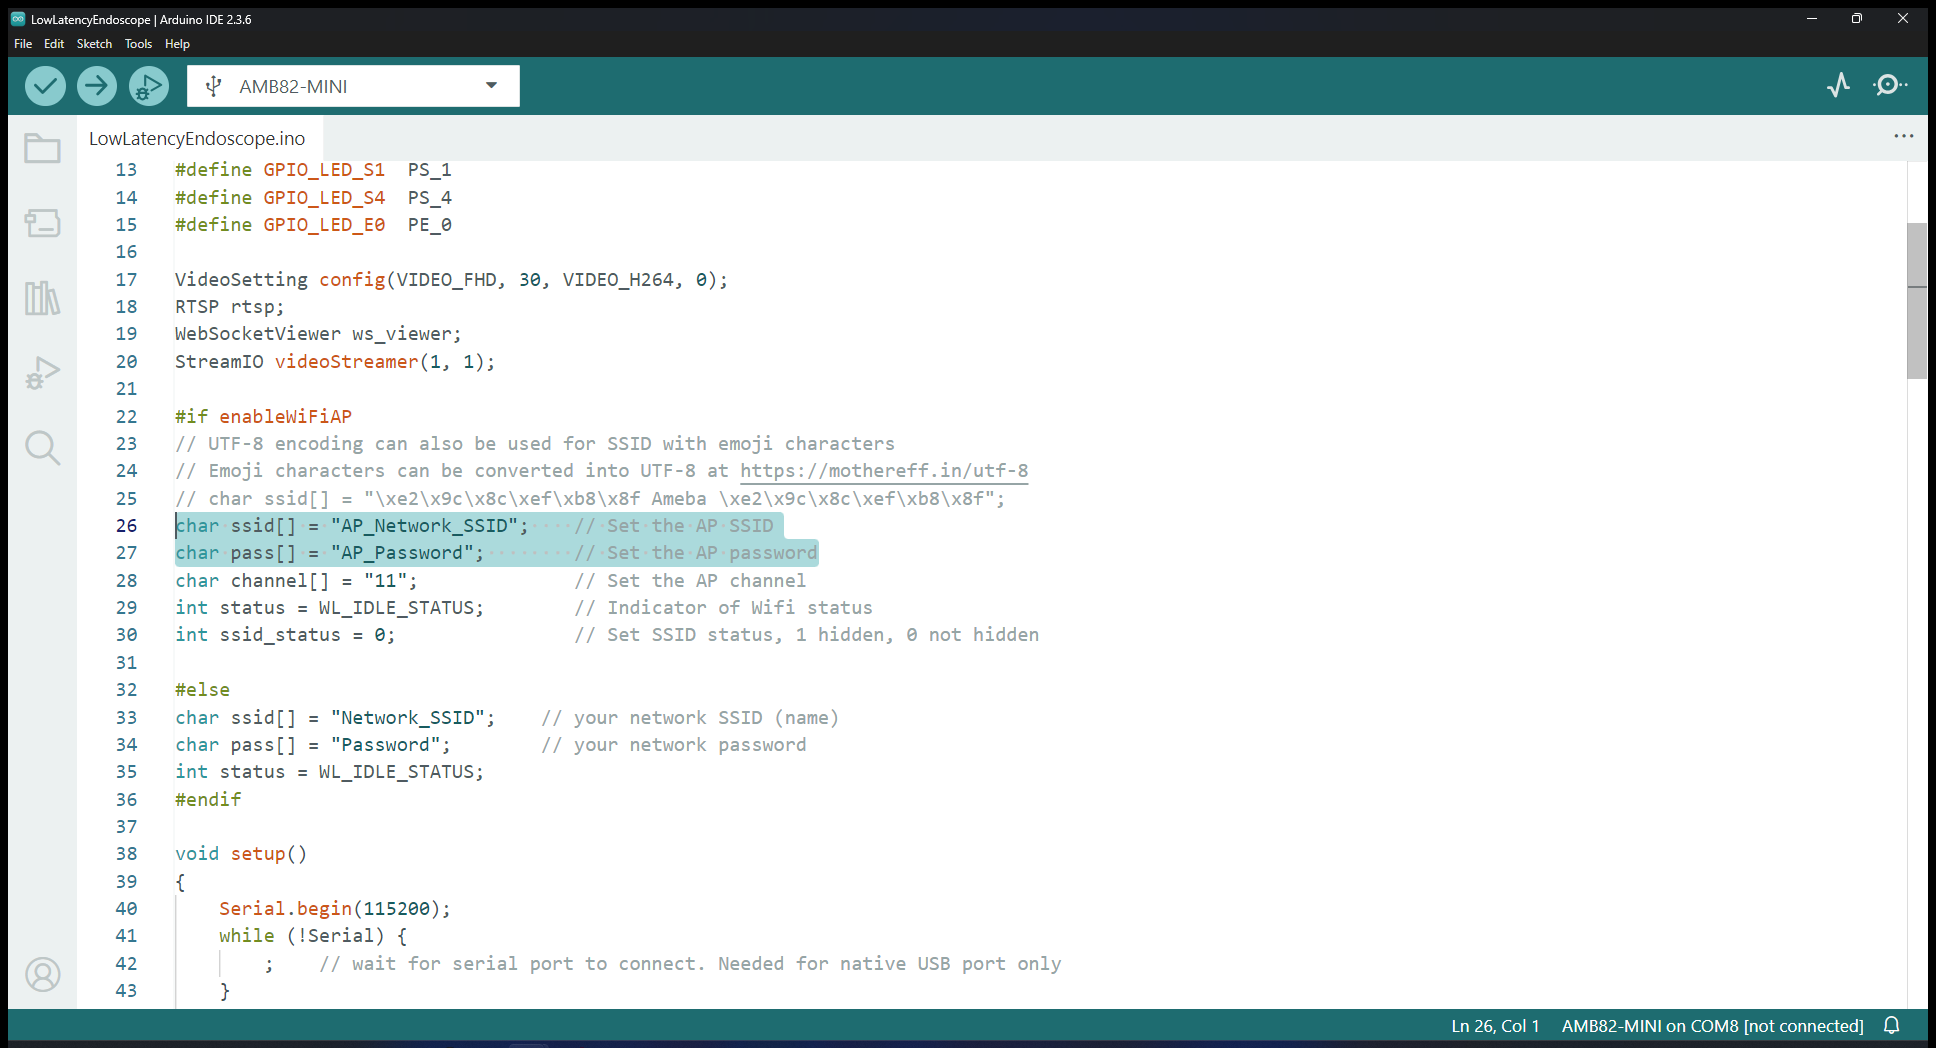
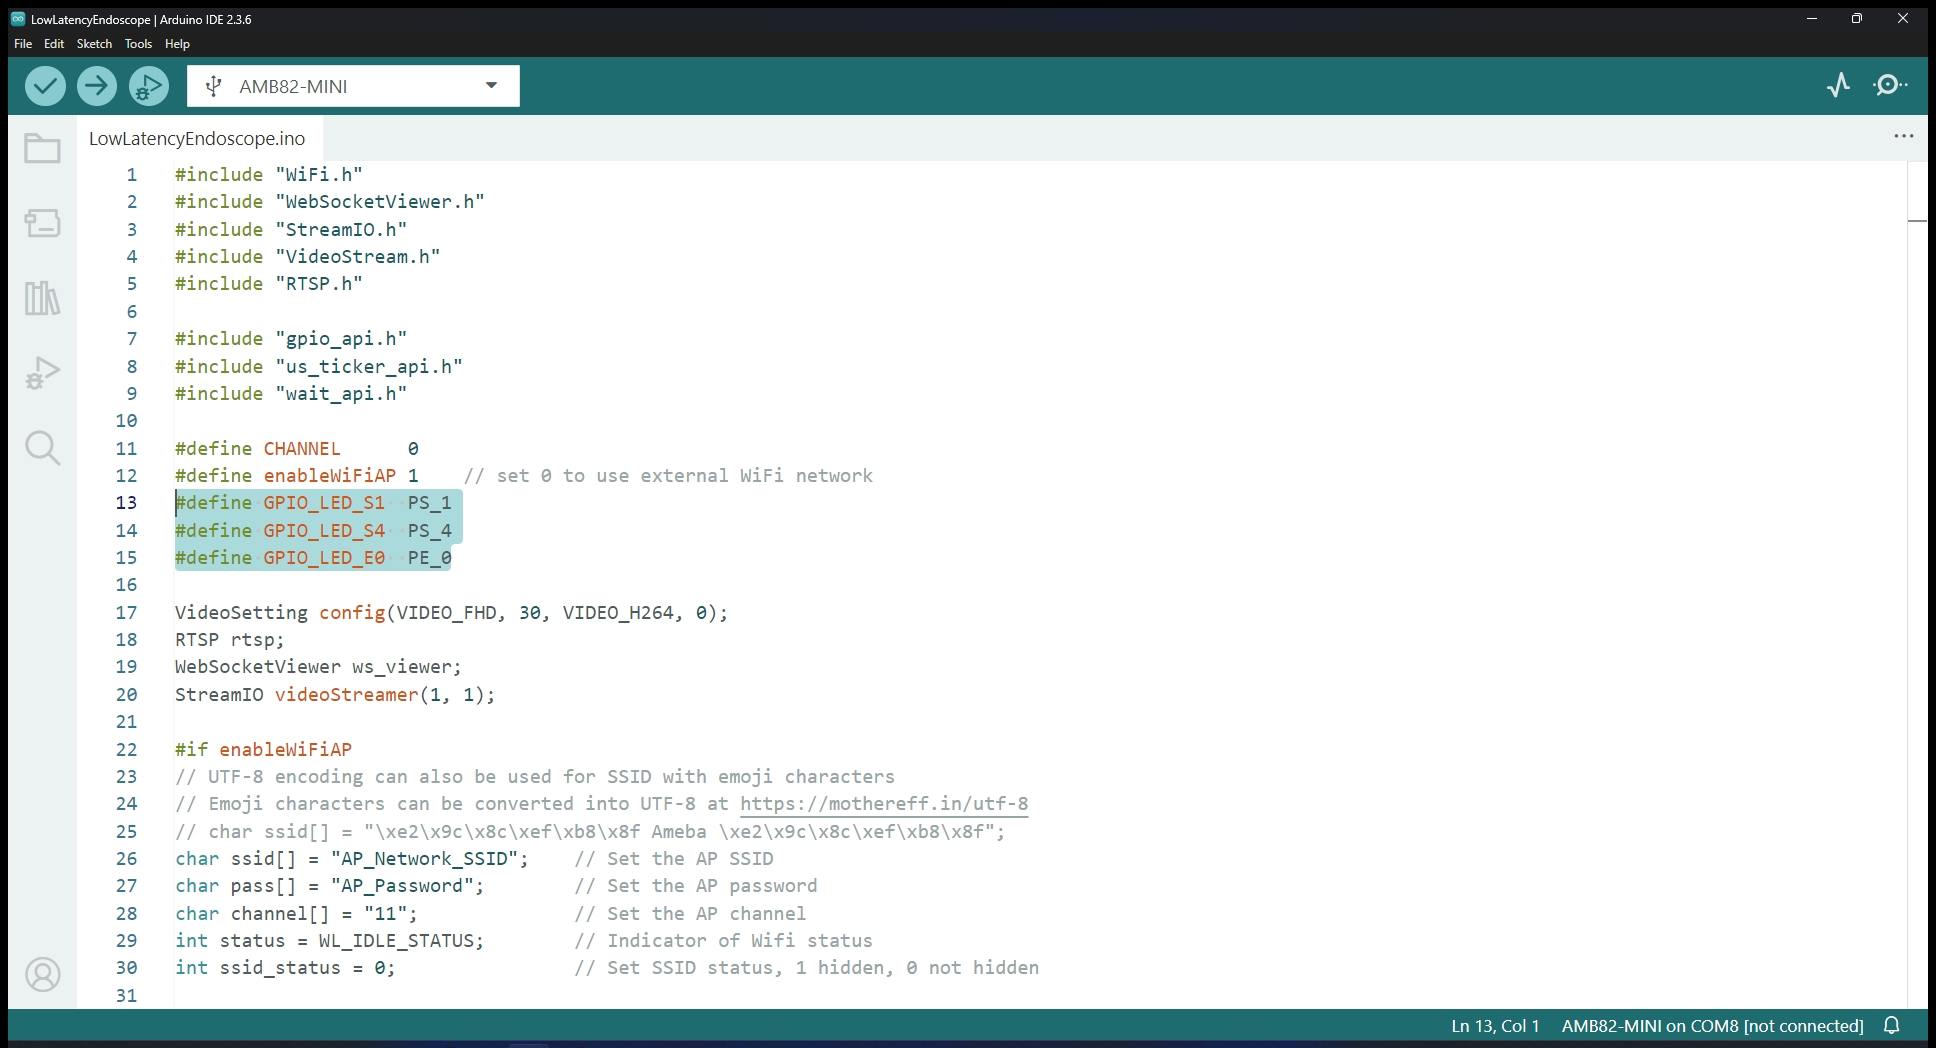
Update the WiFi AP network ID and Password in the following sections. This will be the network to connect to later.
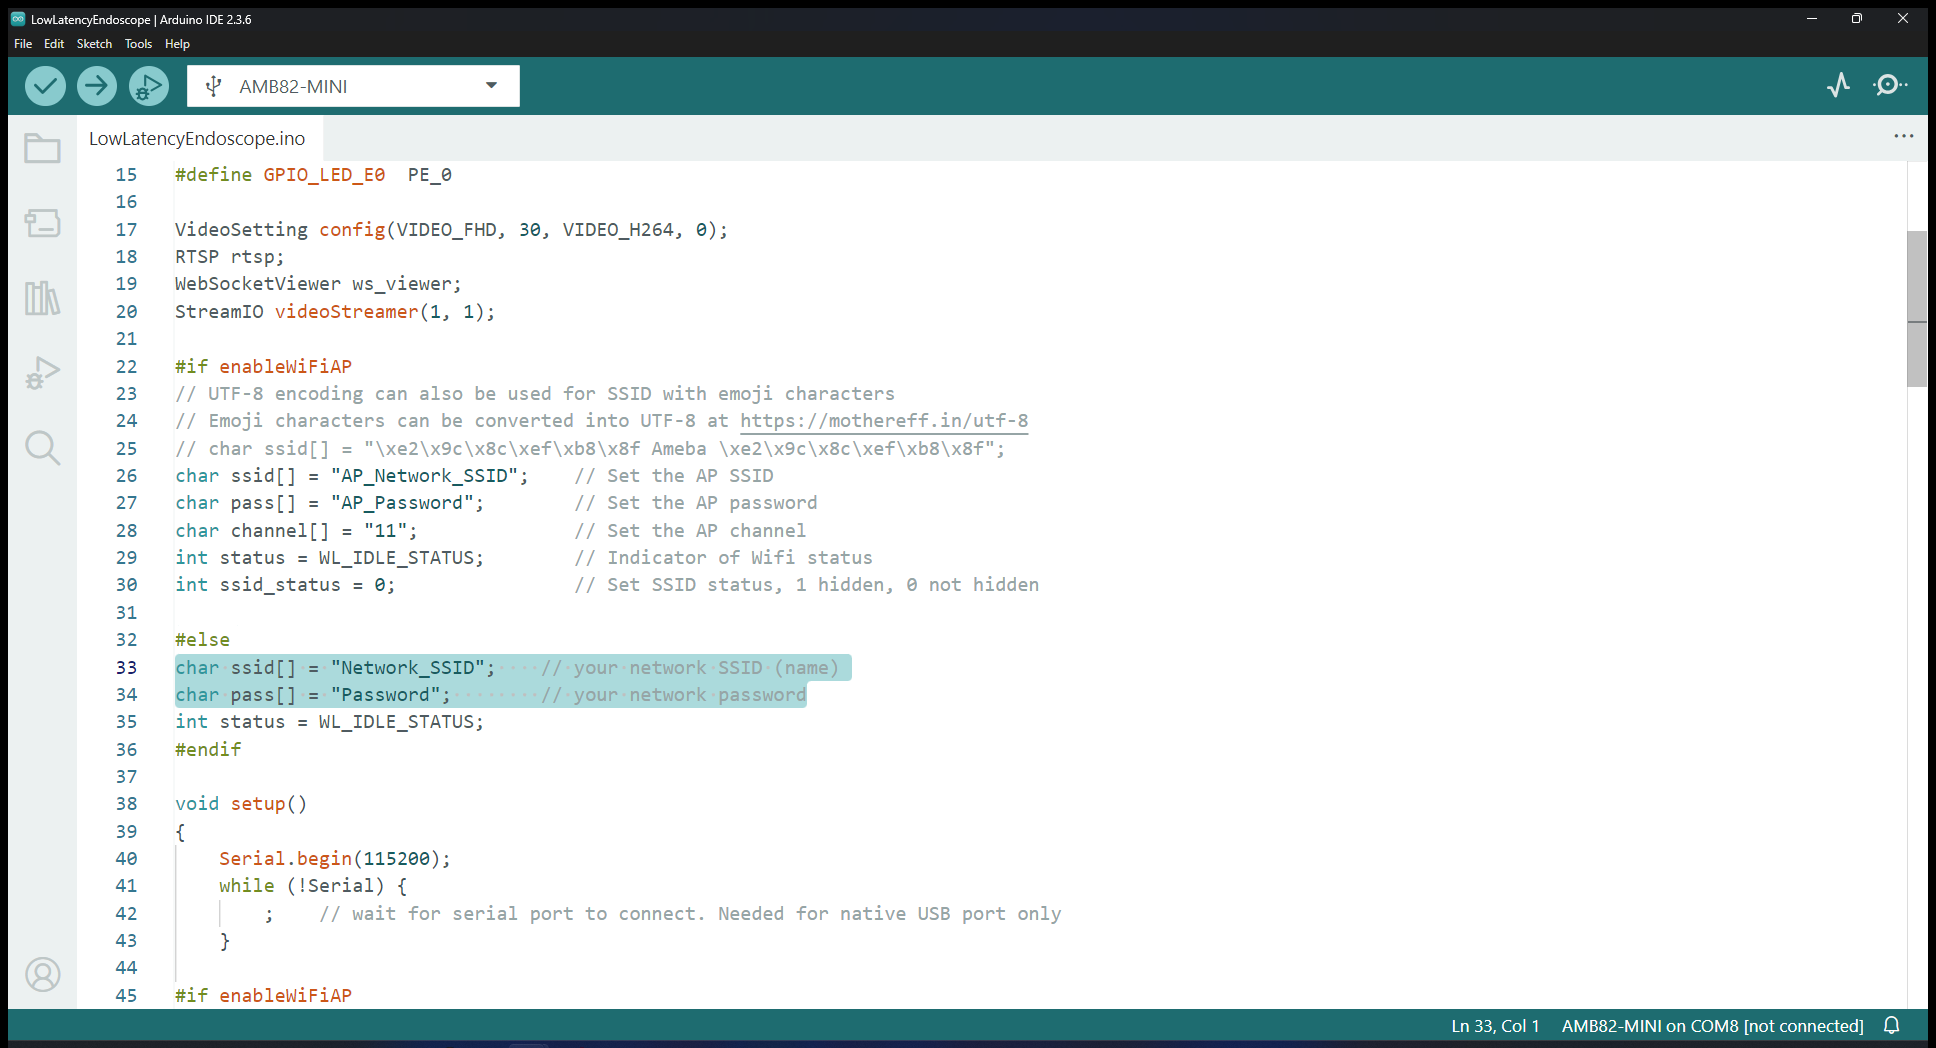
If you are using an external WiFi network, update these sections instead so that AMB82-Mini may connect to it.
Edit the GPIO pins to match the ones to activate the camera’s flashlight in the following sections.
Compile and upload the code into AMB82-Mini and reset the board to start running the POC example.
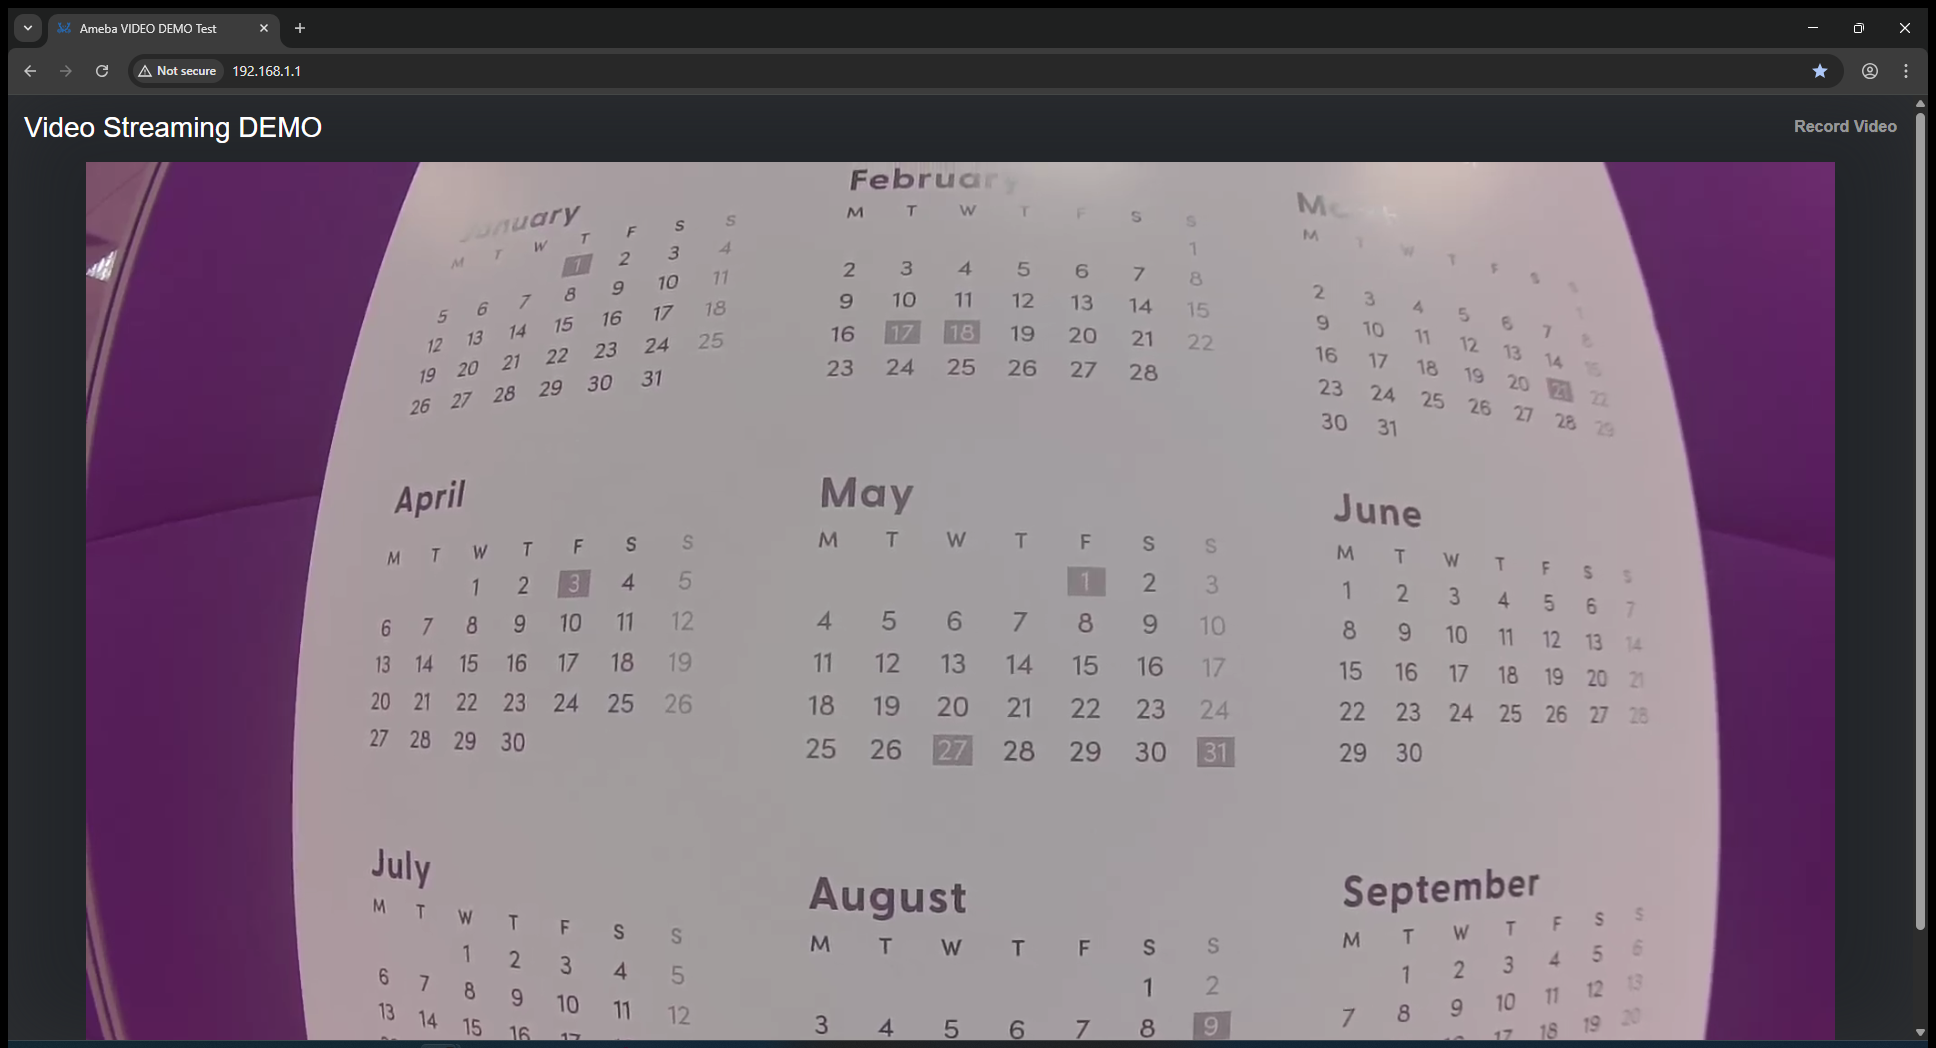
For live viewing of the video stream, first connect to AMB82-Mini’s WiFi using the network SSID and password that you have defined earlier.
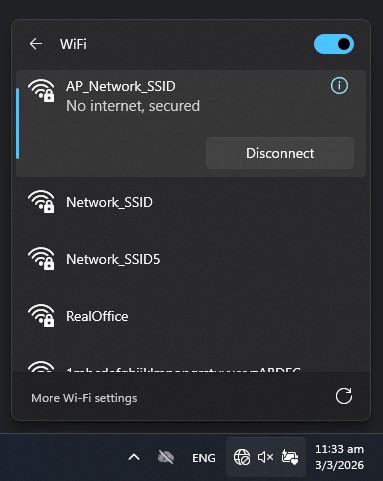
Open your browser and connect to the following IP Address: http://192.168.1.1/.